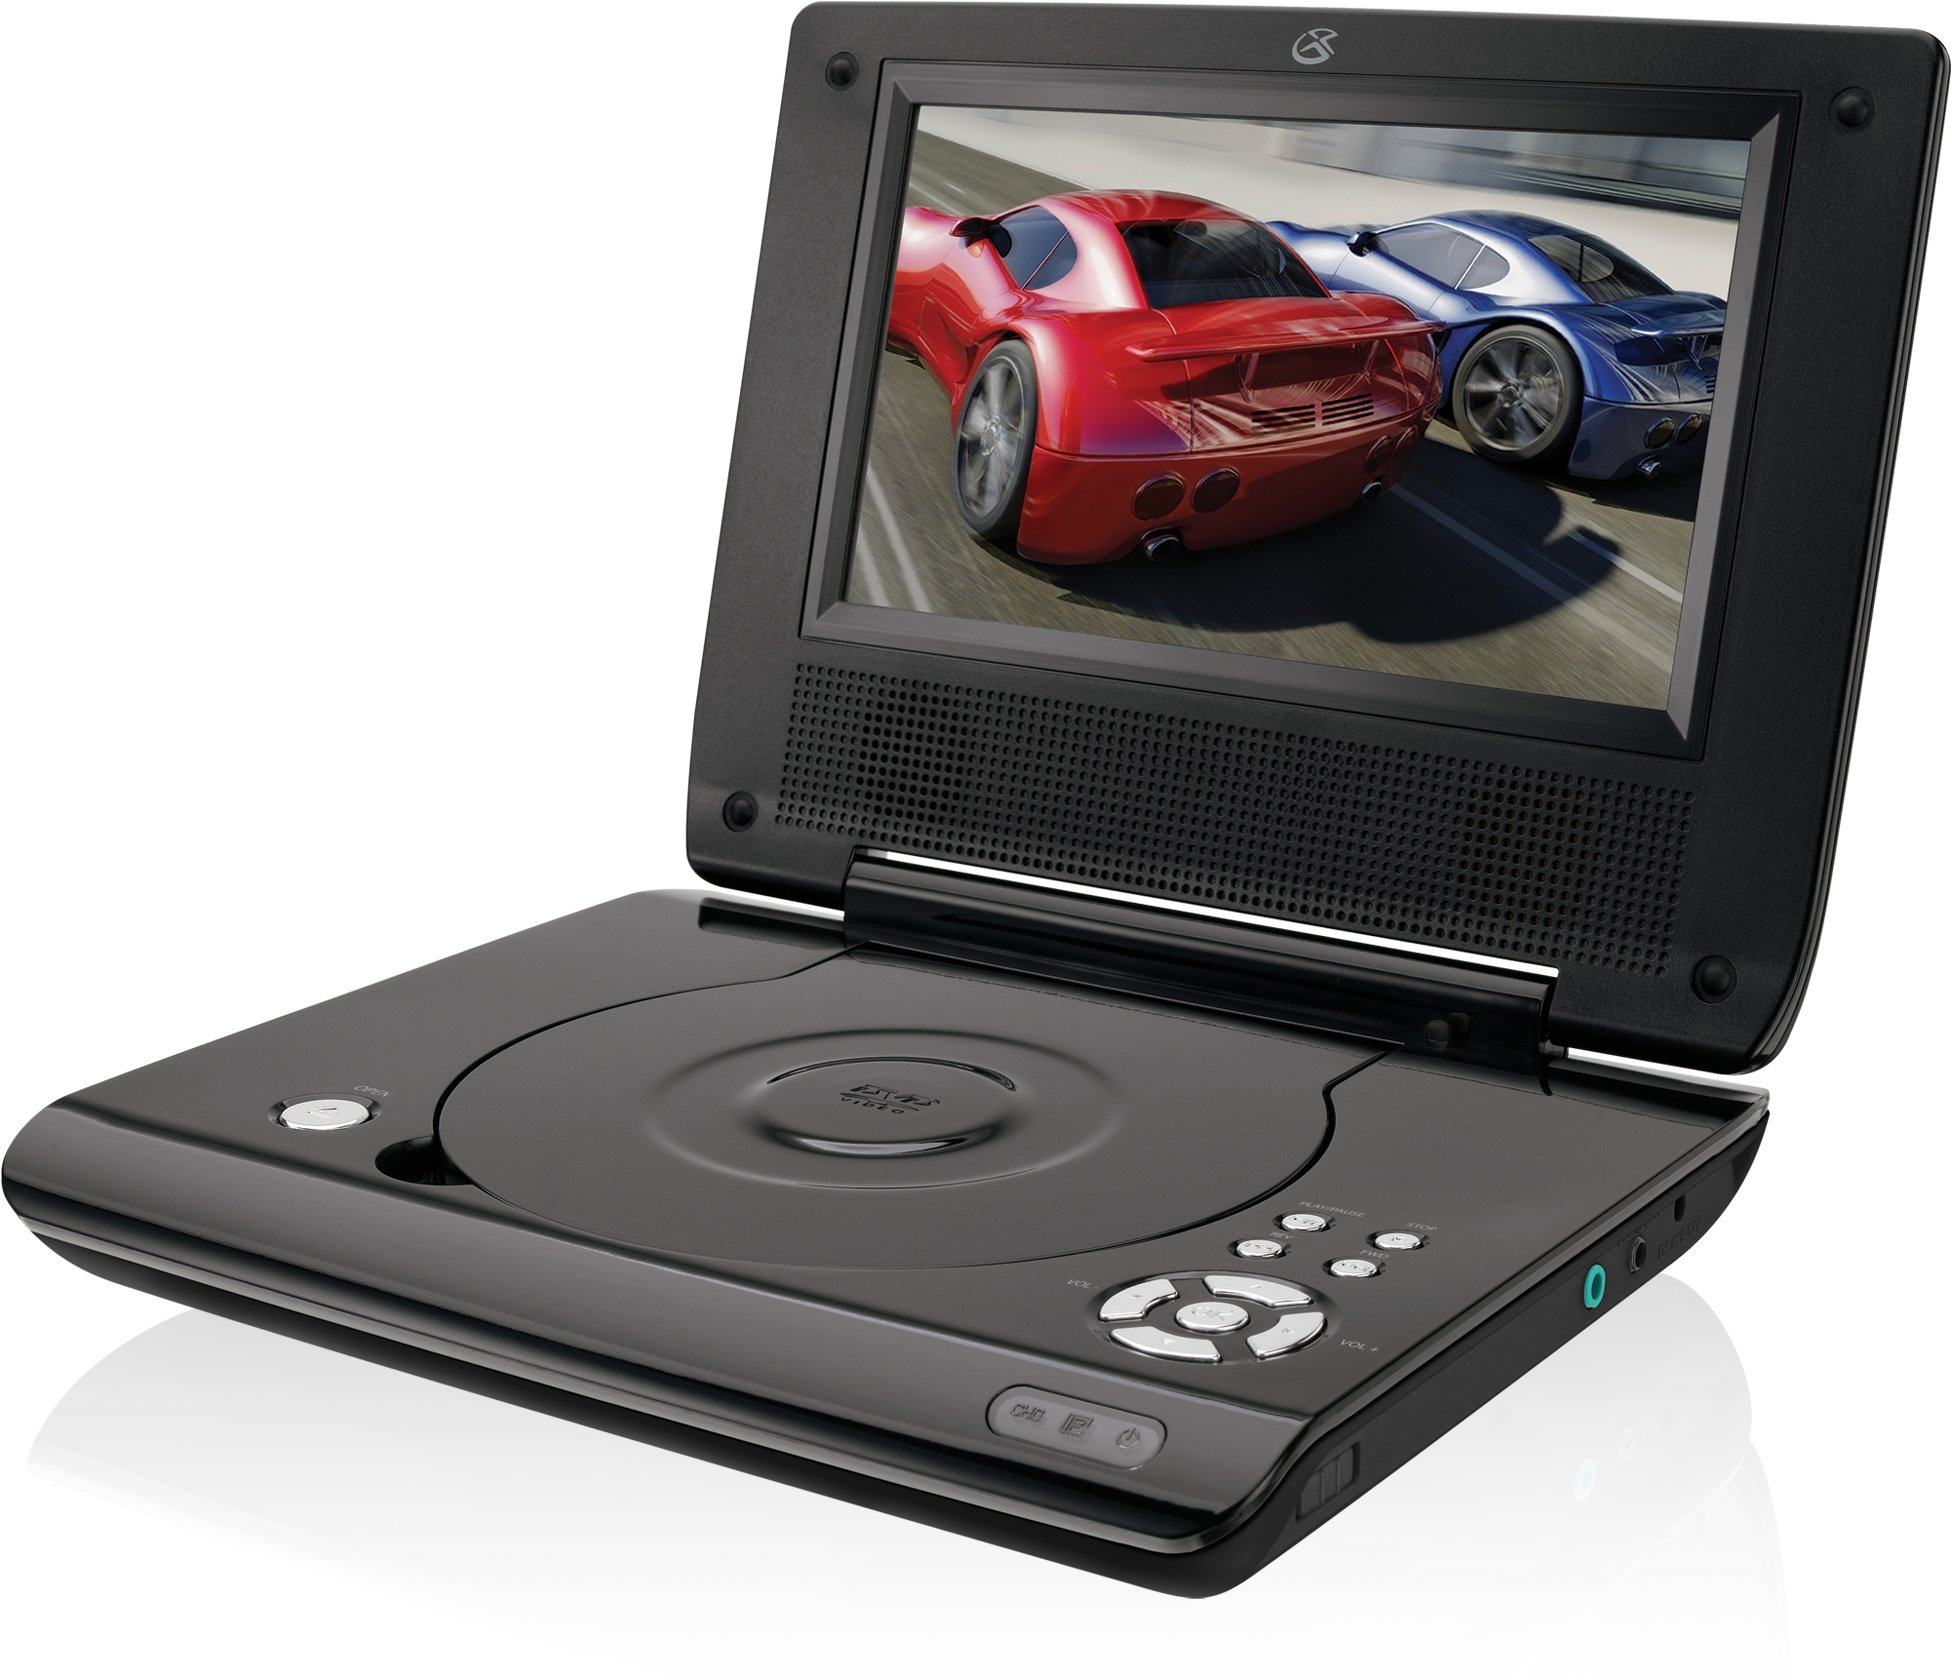
This manual provides essential instructions for the safe and efficient operation of your GPX PD730B 7-inch Portable DVD Player. Please read this manual thoroughly before using the device and retain it for future reference. The GPX PD730B is designed for portable entertainment, allowing you to enjoy DVDs, CDs, and JPEG files on its 7-inch TFT LCD screen.
پیکیج کے مشمولات
تصدیق کریں کہ نیچے دی گئی تمام اشیاء آپ کے پیکیج میں شامل ہیں:
GPX PD730B Portable DVD Player
AC/DC پاور اڈاپٹر
DC Car Adapter (12V)
سٹیریو ایربڈس
ریموٹ کنٹرول (2 AAA بیٹریوں کے ساتھ)
صارف دستی (یہ دستاویز)
پروڈکٹ ختمview
Figure 1: GPX PD730B Portable DVD Player (Closed)
This image shows the GPX PD730B portable DVD player in its closed position, highlighting its compact and sleek design. The top surface is smooth and black, with control buttons visible on the right edge.
کنٹرولز اور کنکشنز
Familiarize yourself with the various controls and connection ports on your portable DVD player.
پاور بٹن: یونٹ کو آن یا آف کرتا ہے۔
پلے/پاز بٹن: پلے بیک شروع ہوتا ہے یا موقوف ہے۔
اسٹاپ بٹن: پلے بیک کو روکتا ہے۔
چھوڑیں/تلاش کے بٹن: Navigates tracks or chapters, or fast-forwards/rewinds.
حجم کنٹرول: آڈیو آؤٹ پٹ لیول کو ایڈجسٹ کرتا ہے۔
ہیڈ فون جیک: For private listening with stereo earbuds or headphones.
پورٹ میں ڈی سی: Connects to the AC/DC or car power adapter for charging and power.
سیٹ اپ
1. بیٹری چارج کرنا
Before initial use, fully charge the built-in rechargeable battery. A full charge provides approximately 2 hours of playback time.
Connect the AC/DC power adapter to the DC In port on the DVD player.
AC/DC پاور اڈاپٹر کو ایک معیاری وال آؤٹ لیٹ میں لگائیں۔
The charging indicator light (if present) will illuminate. Charging is complete when the light changes color or turns off (refer to device for specific indicator behavior).
Alternatively, use the 12V DC car adapter to charge the player in a vehicle.
2. پر / آف پاور
دبائیں اور تھامیں۔ طاقت button on the unit to turn the player on or off. The screen will illuminate when powered on.
آپریٹنگ ہدایات
1. Inserting and Removing Discs
Gently open the disc compartment lid.
Place a DVD or CD onto the spindle with the label side facing up. Press down gently on the center of the disc until it clicks into place.
Close the disc compartment lid firmly.
To remove a disc, open the lid, gently press the spindle button (if present) or lift the disc from the edges, avoiding touching the data surface.
2. بنیادی پلے بیک
ڈسک داخل کرنے کے بعد، کھلاڑی عام طور پر خود بخود پلے بیک شروع کر دے گا۔
استعمال کریں۔ چلائیں/روکیں۔ پلے بیک کو روکنے یا دوبارہ شروع کرنے کے لیے بٹن۔
دبائیں رک جاؤ پلے بیک کو روکنے کے لئے بٹن.
استعمال کریں۔ چھوڑیں۔ buttons (usually labeled with arrows) to navigate between chapters or tracks.
استعمال کریں۔ تلاش کریں buttons (often combined with Skip) to fast-forward or rewind.
3. ریموٹ کنٹرول کا استعمال
The included remote control provides convenient access to all player functions from a distance. Ensure the 2 AAA batteries are correctly installed. Point the remote control directly at the player's remote sensor.
4. ہیڈ فون کو جوڑنا
For private listening, plug the stereo earbuds (or your own headphones) into the ہیڈ فون جیک on the side of the player. The built-in speakers will automatically mute when headphones are connected.
Figure 2: Portable DVD Player in use (Bedroom)
This image illustrates the portable DVD player being used by a girl in a bedroom setting, demonstrating its suitability for personal entertainment at home.
Figure 3: Portable DVD Player in use (Vehicle)
This image shows a boy watching the portable DVD player in the back seat of a car, highlighting its utility for entertainment during travel.
Figure 4: Portable DVD Player in use (Airplane)
This image depicts a woman using the portable DVD player with headphones on an airplane, showcasing its versatility for quiet, personal entertainment during flights.
دیکھ بھال
Cleaning the Player
Disconnect the player from all power sources before cleaning.
بیرونی سطحوں کو صاف کرنے کے لیے نرم، خشک کپڑا استعمال کریں۔ کھرچنے والے کلینر، موم یا سالوینٹس کا استعمال نہ کریں۔
For the screen, use a soft, lint-free cloth specifically designed for LCD screens. Avoid excessive pressure.
ڈسک کے ڈبے کو دھول اور ملبے سے پاک رکھیں۔
بیٹری کی دیکھ بھال
بیٹری کی زندگی کو طول دینے کے لیے، بار بار بیٹری کو مکمل طور پر خارج کرنے سے گریز کریں۔
If the player will not be used for an extended period, charge the battery to about 50% before storing.
Store the player in a cool, dry place.
خرابی کا سراغ لگانا
If you encounter issues with your GPX PD730B, refer to the following common problems and solutions:
مسئلہ
ممکنہ وجہ
حل
پلیئر آن نہیں ہوتا ہے۔
Battery is discharged; Power adapter not connected properly.
Charge the battery; Ensure power adapter is securely connected to both the player and power source.
کوئی ڈسک پلے بیک نہیں۔
Disc inserted incorrectly; Disc is dirty or scratched; Incorrect disc format.
Reinsert disc correctly (label side up); Clean disc with a soft cloth; Ensure disc is DVD, CD, or JPEG CD format.
اسپیکر / ہیڈ فون سے کوئی آواز نہیں ہے۔
Volume too low; Headphones not fully plugged in; Mute function active.
Increase volume; Ensure headphones are fully inserted; Check if mute is active on remote or player.
ریموٹ کنٹرول کام نہیں کر رہا۔
بیٹریاں مردہ ہیں یا غلط طریقے سے ڈالی گئی ہیں۔ ریموٹ اور پلیئر کے درمیان رکاوٹ۔
Replace remote batteries; Ensure correct polarity; Remove any obstructions and point remote directly at sensor.
وضاحتیں
ماڈل نمبر
PD730B۔
اسکرین کا سائز
7 انچ
ڈسپلے کی قسم
TFT LCD
مقامی قرارداد
480x234
پہلو کا تناسب
16:9
ہم آہنگ میڈیا
DVD, DVD+R/RW, CD, CD-R/RW, JPEG CD
بیٹری کی زندگی (اوسط)
2 گھنٹے
پاور ان پٹ
AC/DC Adapter, 12V DC Car Adapter
کنیکٹوٹی
معاون (ہیڈ فون جیک)
شے کا وزن
1.72 پاؤنڈز
یو پی سی
047323007309
وارنٹی اور سپورٹ
For warranty information, technical support, or service inquiries, please refer to the warranty card included with your product or visit the official GPX webسائٹ وارنٹی دعووں کے لیے خریداری کے ثبوت کے طور پر اپنی خریداری کی رسید رکھیں۔
Ask about setup, troubleshooting, compatibility, parts, safety, or missing instructions. Manuals+ will review the question and use this page’s manual context to help answer it.