
Weintek eMT3070A1WK
MT8100iE Weintek 10.2" گرافک HMI صارف دستی
Model: eMT3070A1WK
1. تعارف
The Weintek MT8100iE is a 10.2-inch Human Machine Interface (HMI) designed for industrial automation applications. It features an 800 x 480 TFT industrial-grade LCD and is built to fully support major PLCs such as Rockwell, Siemens, Mitsubishi, and Omron. This manual provides essential information for the proper installation, operation, and maintenance of your MT8100iE HMI.
2. حفاظتی معلومات
Please read and understand all safety instructions before operating the device. Failure to comply may result in injury or damage to the equipment.
- کسی بھی تنصیب یا دیکھ بھال کو انجام دینے سے پہلے اس بات کو یقینی بنائیں کہ بجلی کی فراہمی منقطع ہے۔
- Only qualified personnel should install and service this equipment.
- Do not expose the device to excessive moisture, dust, or extreme temperatures.
- Verify correct wiring and connections to prevent electrical hazards.
- The front panel is NEMA4/IP65 compliant, but ensure proper sealing during installation to maintain this rating.
3. پیکیج کے مشمولات
تصدیق کریں کہ تمام اشیاء پیکیج میں موجود ہیں:
- MT8100iE HMI Unit
- بڑھتے ہوئے بریکٹ (4x)
- پاور کنیکٹر
- صارف دستی (یہ دستاویز)
- CD-ROM with EasyBuilder Pro Software (or download link)
4. پروڈکٹ ختمview
Familiarize yourself with the components and interfaces of the MT8100iE HMI.
4.1 محاذ View

شکل 4.1: سامنے view of the MT8100iE HMI, showing the 10.2-inch TFT LCD touchscreen and the power indicator LED at the top left.
4.2 طرف View
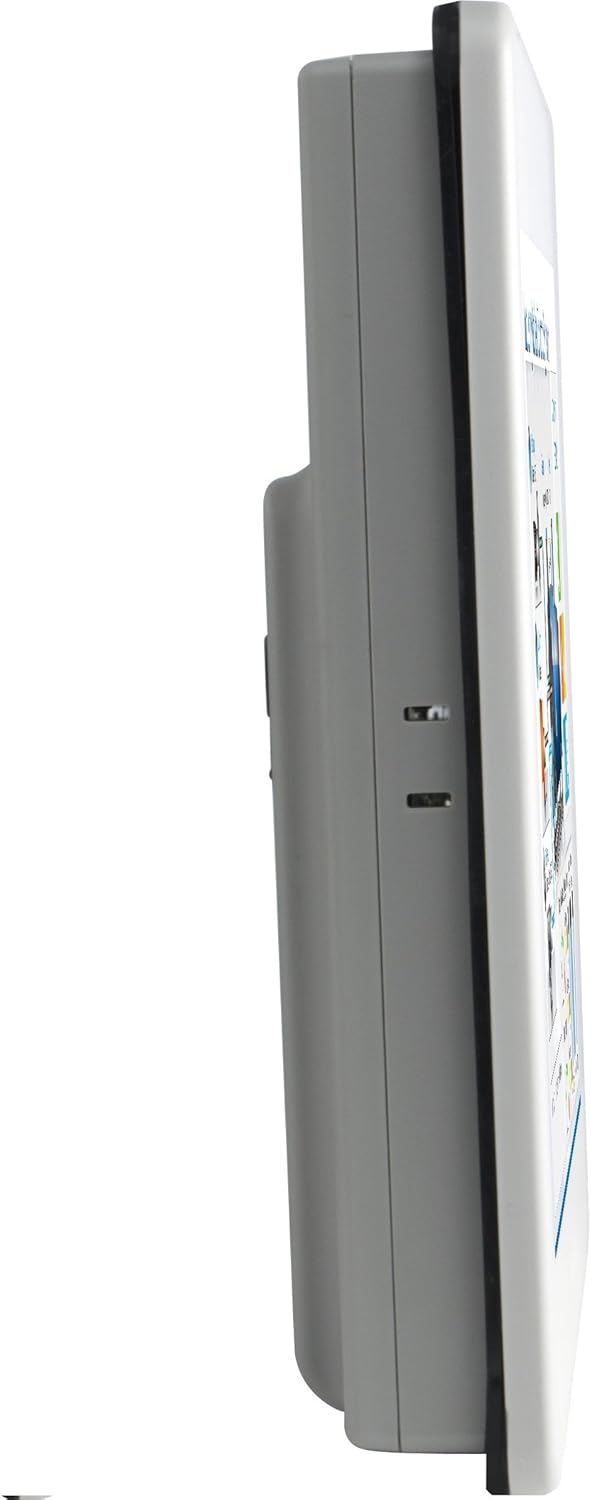
شکل 4.2: سائیڈ پروfile of the MT8100iE, illustrating its compact form factor suitable for panel mounting.
4.3 پیچھے View

شکل 4.3: پیچھے view of the MT8100iE, highlighting the mounting holes for panel installation, the fuse holder for power protection, and the system reset button.
4.4 مواصلاتی بندرگاہیں۔

شکل 4.4: نیچے view of the MT8100iE, detailing the various communication ports including USB, Ethernet, COM1 (RS-232), and COM2 (RS-485 2W/4W).
5. سیٹ اپ
5.1 پینل لگانا
- Cut an opening in the control panel according to the dimensions provided in the installation guide (refer to the separate installation template for precise measurements).
- Insert the MT8100iE HMI into the cutout from the front.
- From the rear of the panel, insert the four mounting brackets into the slots on the HMI unit.
- Tighten the screws on the mounting brackets evenly until the HMI is securely fastened to the panel. Do not overtighten.
5.2 پاور کنکشن
- Connect a 24V DC power supply to the power input terminal block on the rear of the HMI.
- درست قطبیت (+ اور -) کو یقینی بنائیں۔
- Secure the connection firmly.
5.3 مواصلاتی رابطے
- سیریل پورٹس: Use the COM1 (RS-232) and COM2 (RS-485 2W/4W) ports to connect to PLCs or other serial devices. Refer to your PLC's documentation for specific wiring diagrams.
- ایتھرنیٹ پورٹ: Connect an Ethernet cable to the RJ45 port for network communication with PLCs or for remote access.
- USB پورٹس: Use the USB host ports for connecting USB flash drives for project transfers or other peripherals.
6. آپریٹنگ ہدایات
6.1 پاور آن
Once all connections are secure, apply power to the HMI. The power indicator LED will illuminate, and the HMI will boot up, displaying the configured project.
6.2 Project Download
To load a new project or update an existing one:
- Create or modify your HMI project using the EasyBuilder Pro software on a PC.
- Connect the PC to the HMI via Ethernet or USB.
- In EasyBuilder Pro, use the 'Download' function to transfer the project to the HMI.
- The HMI will restart with the new project loaded.
6.3 ٹچ اسکرین آپریشن
The MT8100iE features a resistive touchscreen. Use your finger or a non-sharp stylus to interact with the on-screen elements such as buttons, input fields, and displays.
6.4 PLC Communication
The HMI is designed to communicate with various PLCs. Ensure the communication settings (protocol, baud rate, station ID, etc.) configured in your EasyBuilder Pro project match those of your connected PLC.
7 دیکھ بھال
Regular maintenance ensures optimal performance and longevity of your HMI.
- صفائی: ایک نرم استعمال کریں، ڈیamp cloth to clean the screen and casing. Do not use abrasive cleaners or solvents. Ensure no liquid enters the device.
- فرم ویئر اپ ڈیٹس: Periodically check the Weintek website for firmware updates to ensure your HMI has the latest features and bug fixes.
- فیوز کی تبدیلی: If the HMI does not power on, check the fuse located on the rear panel. Replace it with a fuse of the same type and rating if necessary. Always disconnect power before replacing the fuse.
- ماحولیاتی حالات: یقینی بنائیں کہ آپریٹنگ ماحول مخصوص درجہ حرارت اور نمی کی حدود کے اندر رہے تاکہ نقصان سے بچا جا سکے۔
8 خرابیوں کا سراغ لگانا
یہ سیکشن عام مسائل کا حل فراہم کرتا ہے جن کا آپ کو سامنا ہو سکتا ہے۔
| مسئلہ | ممکنہ وجہ | حل |
|---|---|---|
| HMI does not power on. | بجلی کی فراہمی نہیں، غلط وائرنگ، اڑا ہوا فیوز۔ | Check power connection, verify wiring polarity, replace fuse if blown. |
| ٹچ اسکرین غیر جوابدہ ہے۔ | Screen calibration issue, hardware fault. | Perform screen calibration (refer to EasyBuilder Pro documentation), contact support if issue persists. |
| Cannot communicate with PLC. | Incorrect communication settings, wrong cable, PLC offline. | Verify communication protocol, baud rate, and station ID in EasyBuilder Pro. Check cable connections. Ensure PLC is powered on and running. |
| Project download fails. | Network issue, incorrect IP address, firewall blocking. | Check network cable, verify HMI and PC IP addresses are in the same subnet. Temporarily disable firewalls for testing. |
9. وضاحتیں
| فیچر | تفصیل |
|---|---|
| ماڈل نمبر | eMT3070A1WK |
| اسکرین کا سائز | 10.2 انچ |
| قرارداد | 800 x 480 |
| پہلو کا تناسب | 1.66:1 |
| اسکرین کی سطح | چمکدار |
| یادداشت | بلٹ ان 128 MB فلیش میموری |
| ریئل ٹائم گھڑی (RTC) | جی ہاں |
| فرنٹ پینل کی درجہ بندی | NEMA4/IP65 Compliant |
| سیریل پورٹس | COM1 RS-232 / COM2 RS-485 (2W/4W) |
| ای میل اطلاع | Status e-Mail notification feature |
10. وارنٹی اور سپورٹ
Weintek products are manufactured to high quality standards. For warranty information and technical support, please refer to the official Weintek website or contact your authorized distributor. Keep your purchase receipt as proof of purchase for warranty claims.
For software downloads, drivers, and additional resources, visit the official Weintek support portal.
Ask a question about this manual
Ask about setup, troubleshooting, compatibility, parts, safety, or missing instructions. Manuals+ will review the question and use this page’s manual context to help answer it.