1. تعارف
Thank you for choosing the ProMaster CT75K Cine Tripod Kit. This manual provides essential information for the safe and effective use of your new tripod system. Please read these instructions carefully before operating the equipment and retain them for future reference. The ProMaster CT75K is designed for stable and smooth camera movements, ideal for professional video and cinema applications.
2. حفاظتی معلومات
- Always ensure all locking mechanisms are securely fastened before mounting equipment or leaving the tripod unattended.
- Do not exceed the maximum load capacity of the tripod head. Refer to the specifications section for details.
- Be cautious when extending or collapsing the tripod legs to avoid pinching fingers or damaging the equipment.
- Distribute the weight of your camera and accessories evenly to maintain stability.
- Avoid exposing the tripod to extreme temperatures, moisture, or corrosive substances.
- Transport the tripod in its dedicated carrying bag to prevent damage.
3. پیکیج کے مشمولات
Verify that all items listed below are present in your ProMaster CT75K Cine Tripod Kit:
- ProMaster CT75K Tripod Legs
- ProMaster CINE CH75 Fluid Head
- Quick Release Plate (Model 7090)
- Pan Bar Handle(s) (Typically one or two handles are included. Check inside the carrying bag's pockets.)
- کیرینگ بیگ
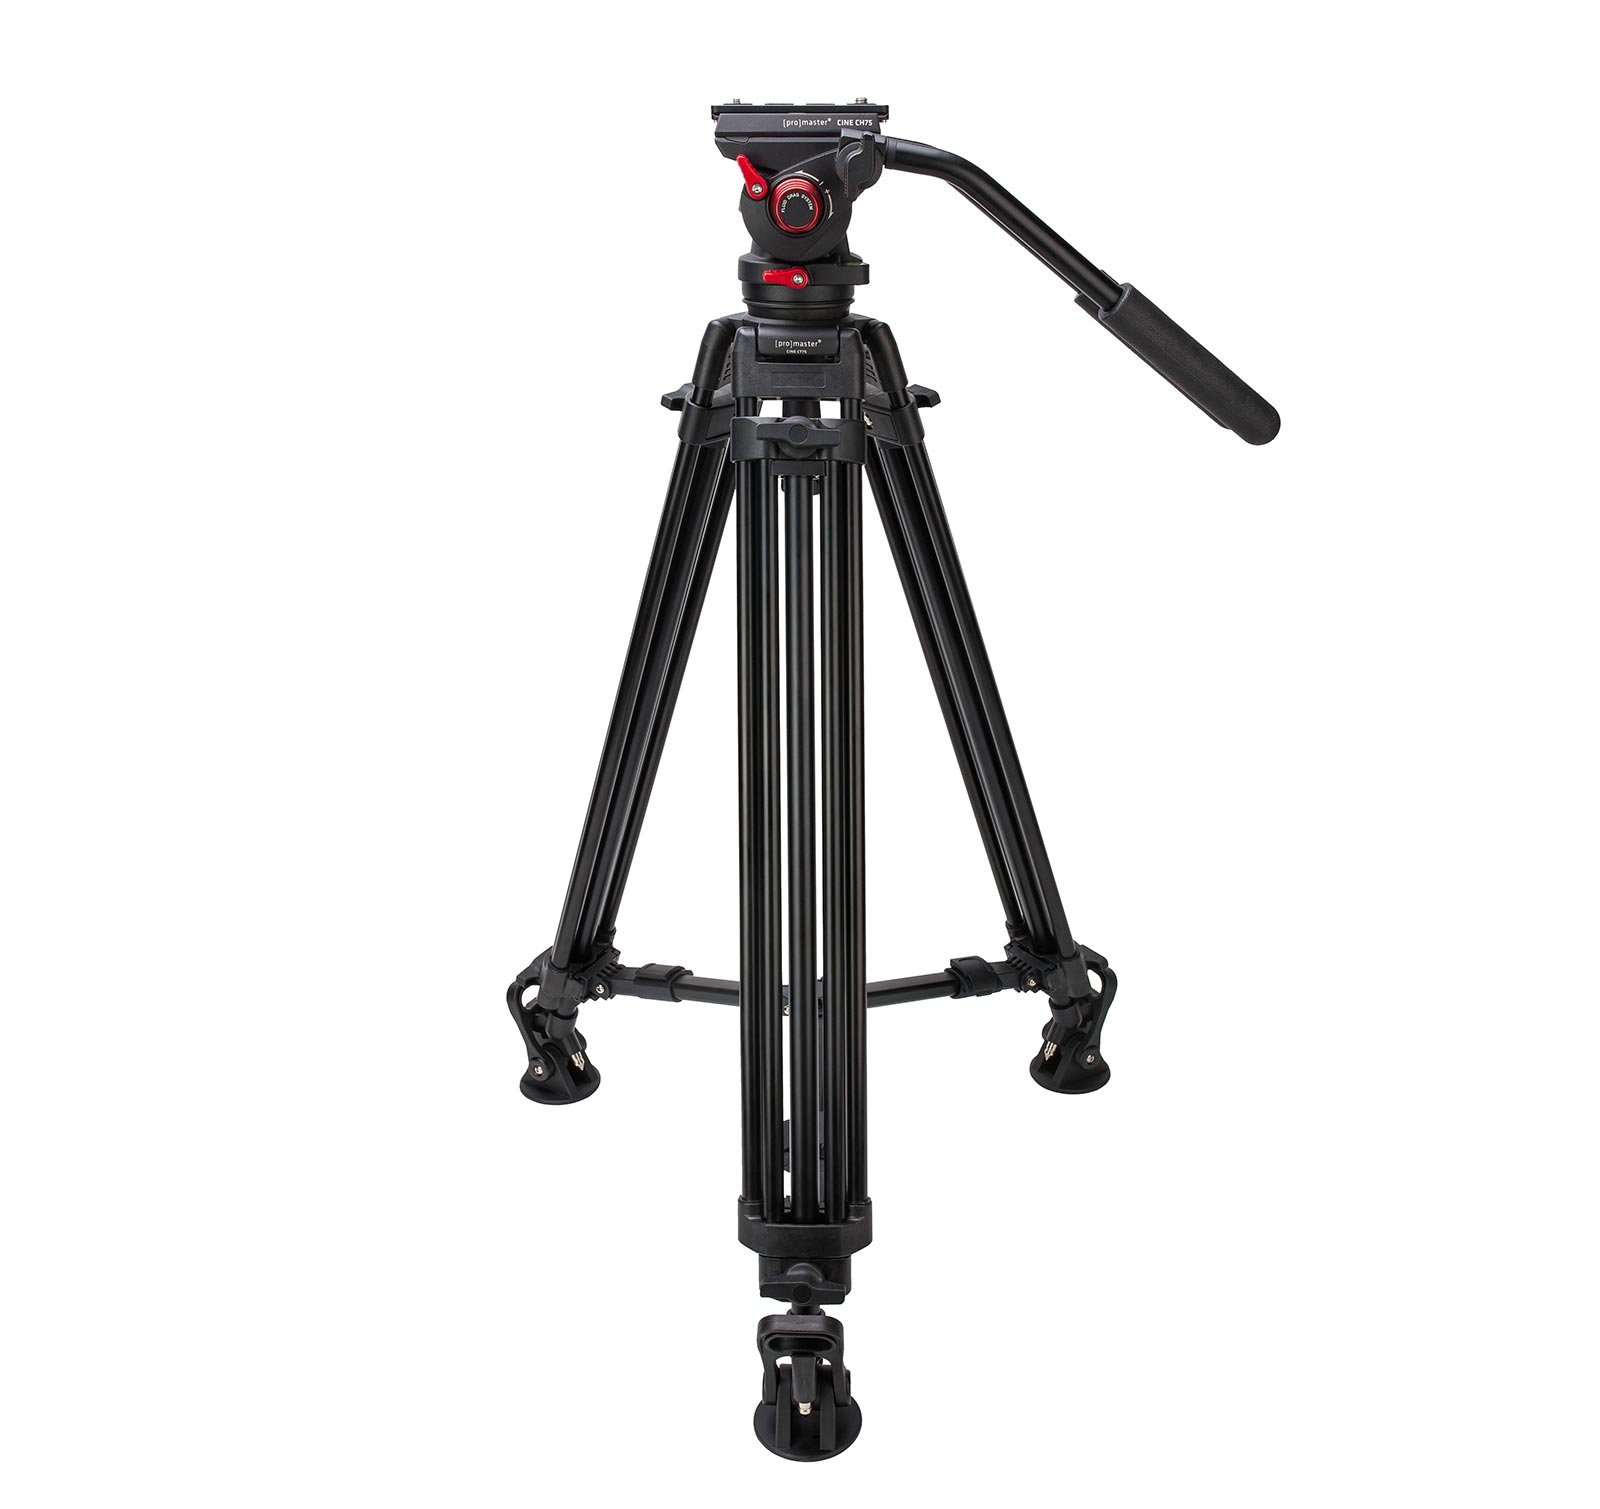
Image 3.1: The ProMaster CT75K Cine Tripod Kit fully assembled, showing the tripod legs, fluid head, and pan bar handle.

Image 3.2: The included carrying bag for the ProMaster CT75K Cine Tripod Kit, designed for transport and protection.
4. سیٹ اپ
4.1 Unpacking and Initial Assembly
- لے جانے والے بیگ سے تمام اجزاء کو احتیاط سے ہٹا دیں۔
- Unfold the tripod legs. The fluid head is typically pre-attached to the legs.
- Locate the pan bar handle(s). These may be stored in a separate pocket within the carrying bag.
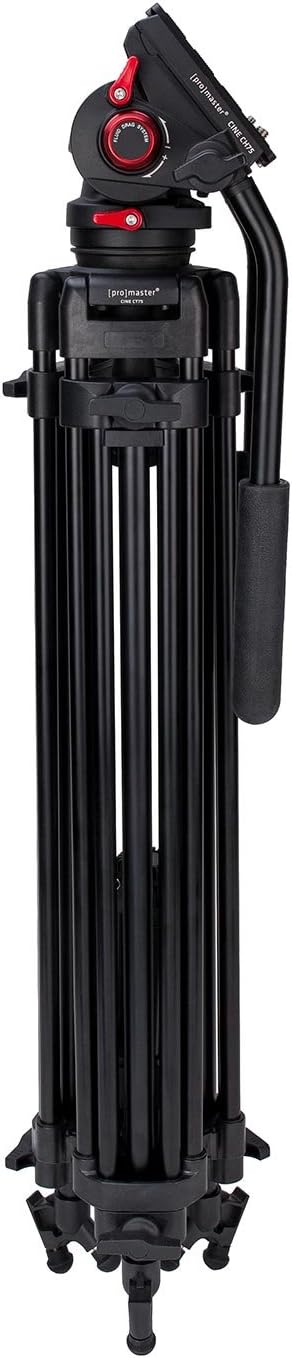
Image 4.1: The ProMaster CT75K Cine Tripod Kit in its folded, compact state for storage or transport.
4.2 Attaching the Pan Bar Handle(s)
- Identify the mounting points on the fluid head for the pan bar handle(s).
- Insert the pan bar handle into the designated socket and tighten the locking knob until secure.
- If your kit includes two handles, repeat the process for the second handle.

Image 4.2: The ProMaster CINE CH75 Fluid Head with two pan bar handles attached, providing dual control for precise movements.
4.3 تپائی ٹانگوں کو بڑھانا
- Release the leg section locks on each leg.
- Extend the legs to the desired height. Ensure that the tripod is stable and balanced.
- Securely fasten all leg section locks.
- Adjust the leg spread to achieve optimal stability for your shooting environment.
4.4 Leveling the Fluid Head
- Loosen the ball head locking knob located at the base of the fluid head.
- Use the integrated bubble level on the fluid head to ensure the head is perfectly level.
- Once level, tighten the ball head locking knob firmly to secure the head in position.
4.5 Attaching the Camera to the Quick Release Plate
- Locate the quick release plate (Model 7090).
- Attach the quick release plate to the bottom of your camera using the provided mounting screw. Ensure it is tightly secured to prevent rotation.

تصویر 4.3: اوپر view of the ProMaster Quick Release Plate (Model 7090), showing the camera mounting screw and anti-slip pads.

تصویر 4.4: نیچے view of the ProMaster Quick Release Plate (Model 7090), indicating its model number.
4.6 Mounting the Camera to the Fluid Head
- Ensure the quick release plate receiver on the fluid head is unlocked.
- Slide the quick release plate with your camera attached into the receiver on the fluid head.
- Push the plate until it clicks into place, then engage the safety lock to prevent accidental release.
- Double-check that the camera is securely mounted before releasinجی آپ کی گرفت.
5. آپریٹنگ
5.1 Adjusting Pan and Tilt Drag
The ProMaster CINE CH75 Fluid Head features adjustable fluid drag for both pan and tilt movements, allowing for smooth and controlled camera operation.
- پین ڈریگ: Locate the pan drag adjustment knob (often on the side or rear of the head). Rotate it to increase or decrease the resistance for horizontal camera movements.
- جھکاؤ گھسیٹیں: Locate the tilt drag adjustment knob (often on the side of the head). Rotate it to increase or decrease the resistance for vertical camera movements.

Image 5.1: Close-up of the ProMaster CINE CH75 Fluid Head, highlighting the fluid drag system and adjustment knobs.
5.2 Balancing the Camera
Proper camera balance is crucial for smooth operation and to prevent the camera from tipping. The fluid head often includes a counterbalance system.
- With the camera mounted and tilt drag set to a low level, gently tilt the camera forward and backward.
- Adjust the camera's position on the quick release plate (if possible) or use the counterbalance adjustment (if available on your head) until the camera remains stable at any tilt angle without assistance.
5.3 Locking Movements
To fix the camera in a specific position, use the pan and tilt locking knobs. These are separate from the drag adjustments.
- پین لاک: Tighten the pan lock knob to prevent horizontal rotation.
- جھکاؤ لاک: Tighten the tilt lock knob to prevent vertical tilting.
Always loosen these locks before attempting to move the camera to avoid damage to the fluid head.
6 دیکھ بھال
- صفائی: Wipe down the tripod and head with a soft, dry cloth after each use. For stubborn dirt, use a slightly damp cloth and mild soap, then dry thoroughly. Avoid abrasive cleaners or solvents.
- چکنا: The fluid head is factory-lubricated and generally does not require user lubrication. Do not attempt to disassemble the fluid head for lubrication.
- ذخیرہ: تپائی کو اس کے لے جانے والے بیگ میں ٹھنڈی، خشک جگہ پر رکھیں، براہ راست سورج کی روشنی اور انتہائی درجہ حرارت سے دور۔
- معائنہ: Periodically check all screws, knobs, and leg locks for tightness. Tighten any loose components. Inspect the quick release plate for wear or damage.
7 خرابیوں کا سراغ لگانا
- تپائی عدم استحکام: Ensure all leg section locks are fully engaged and the legs are spread evenly. Verify the ground surface is stable.
- Rough pan/tilt movements: Check that the pan and tilt drag settings are appropriate for your camera's weight. Ensure the fluid head is level and the camera is balanced. If movements remain rough, inspect for any debris or damage.
- Camera not securing to head: Ensure the quick release plate is correctly attached to the camera and fully inserted into the fluid head's receiver. Verify the safety lock is engaged.
- Missing pan bar handle: Some users have reported finding the second pan bar handle in a hidden pocket within the carrying bag. Please check all compartments of the bag thoroughly.
8. وضاحتیں
| فیچر | تفصیلات |
|---|---|
| مصنوعات کے طول و عرض | 8 x 8.4 x 35.5 انچ |
| شے کا وزن | 12 پاؤنڈ |
| آئٹم ماڈل نمبر | CT75K |
| برانڈ | پرو ماسٹر |
| رنگ | سیاہ |
| ہم آہنگ آلات | کیمرہ |
| مواد | مرکب سٹیل |
| زیادہ سے زیادہ اونچائی | 63.5 انچ |
| تپائی سر کی قسم | پین ہیڈز (فلوئڈ ہیڈ) |
| یو پی سی | 029144069438 |
9. وارنٹی اور سپورٹ
For warranty information, technical support, or service inquiries, please contact ProMaster customer service directly. Refer to the official ProMaster webموجودہ رابطے کی تفصیلات اور وارنٹی شرائط کے لیے سائٹ یا آپ کی خریداری کی دستاویزات۔
ProMaster Official Webسائٹ: Visit the ProMaster Store on Amazon