
1. اہم حفاظتی ہدایات
Please read these instructions carefully before using the appliance to prevent damage, fire, or injury. Keep this manual for future reference.
- ہمیشہ یقینی بنائیں کہ آلات ایک مستحکم، گرمی سے بچنے والی سطح پر رکھے گئے ہیں۔
- آلات، ڈوری، یا پلگ کو پانی یا دیگر مائعات میں نہ ڈوبیں۔
- استعمال میں نہ ہونے پر، پرزوں کو جمع کرنے یا جدا کرنے سے پہلے، اور صفائی سے پہلے آلے کو آؤٹ لیٹ سے ان پلگ کریں۔
- کسی بھی آلات کو خراب شدہ ڈوری یا پلگ سے، یا آلے کی خرابی کے بعد یا کسی بھی طریقے سے نقصان پہنچانے کے بعد نہ چلائیں۔
- Keep children away from the appliance during operation. The surface can become hot.
- کارخانہ دار کی سفارش کردہ لوازمات استعمال نہ کریں۔
- یہ آلہ صرف گھریلو استعمال کے لیے ہے۔
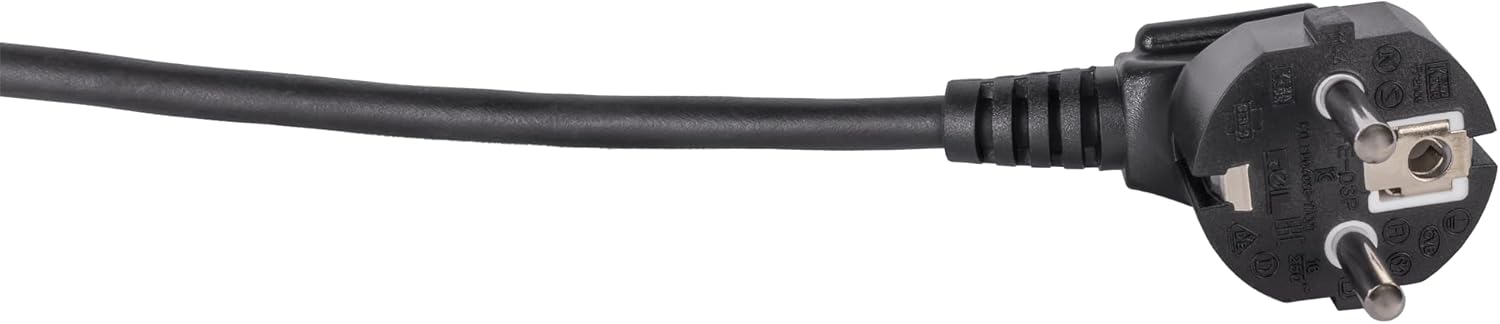
Image: Standard European power plug. Ensure the plug is fully inserted into a grounded outlet.
2. پروڈکٹ ختمview
2.1 اجزاء
The Steba BM 3 Bread Maker includes the following main components:
- Main Unit with Control Panel and Display
- Removable Baking Pan with Non-stick Coating
- گوندھنا پیڈل۔
- ماپنے والا کپ
- ماپنے کا چمچہ
- گوندھنے والے پیڈل کو ہٹانے کے لئے ہک
- کے ساتھ ڈھکن ViewING ونڈو

تصویر: سامنے view of the Steba BM 3 Bread Maker, showing its compact design.
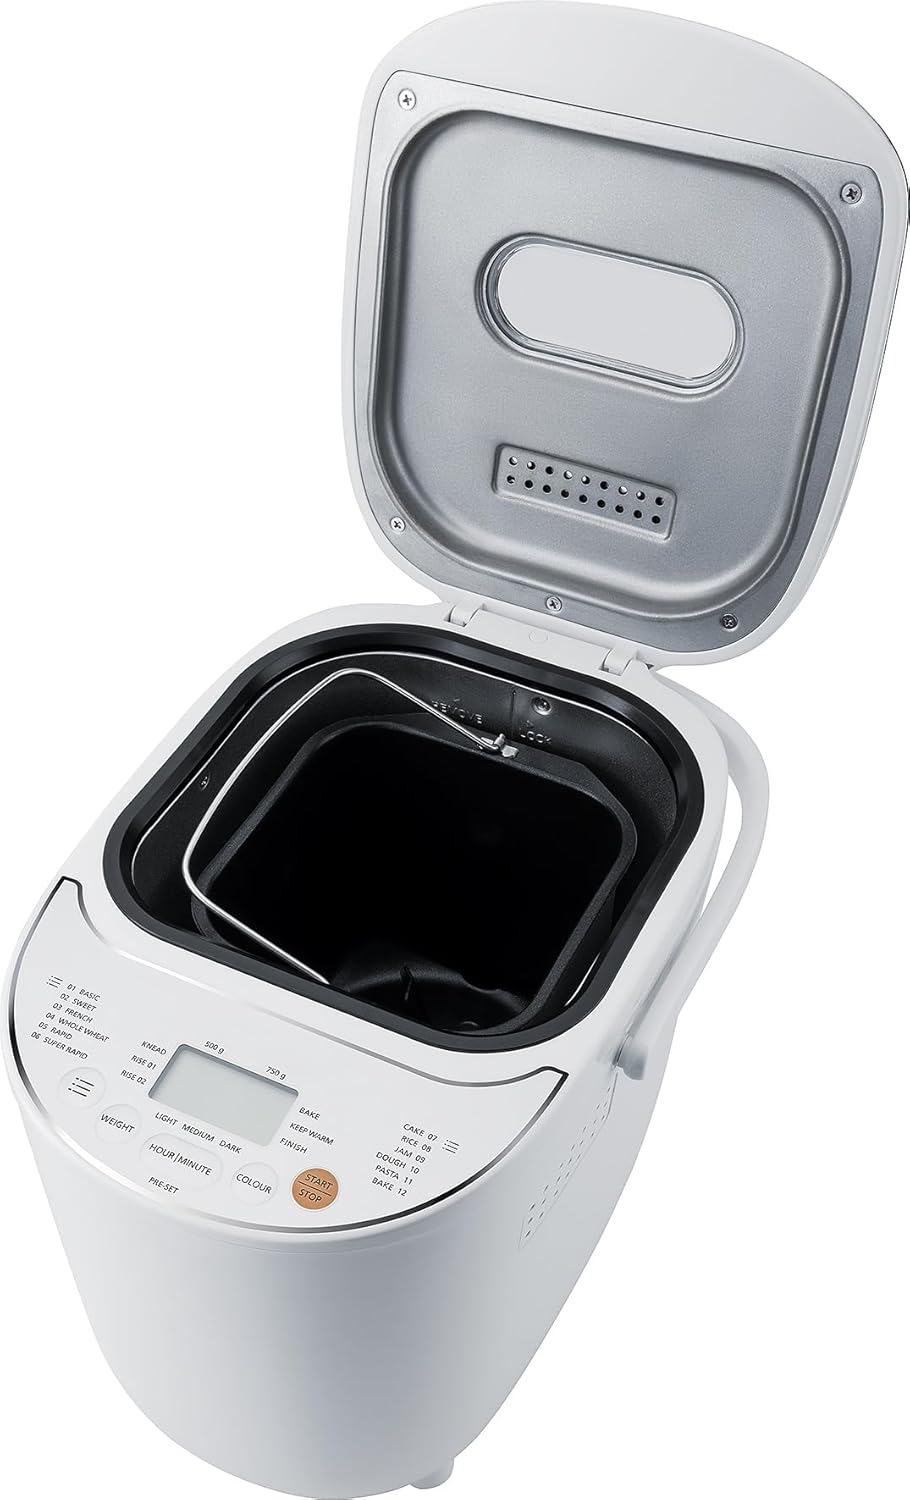
Image: The bread maker with its lid open, revealing the removable baking pan inside.
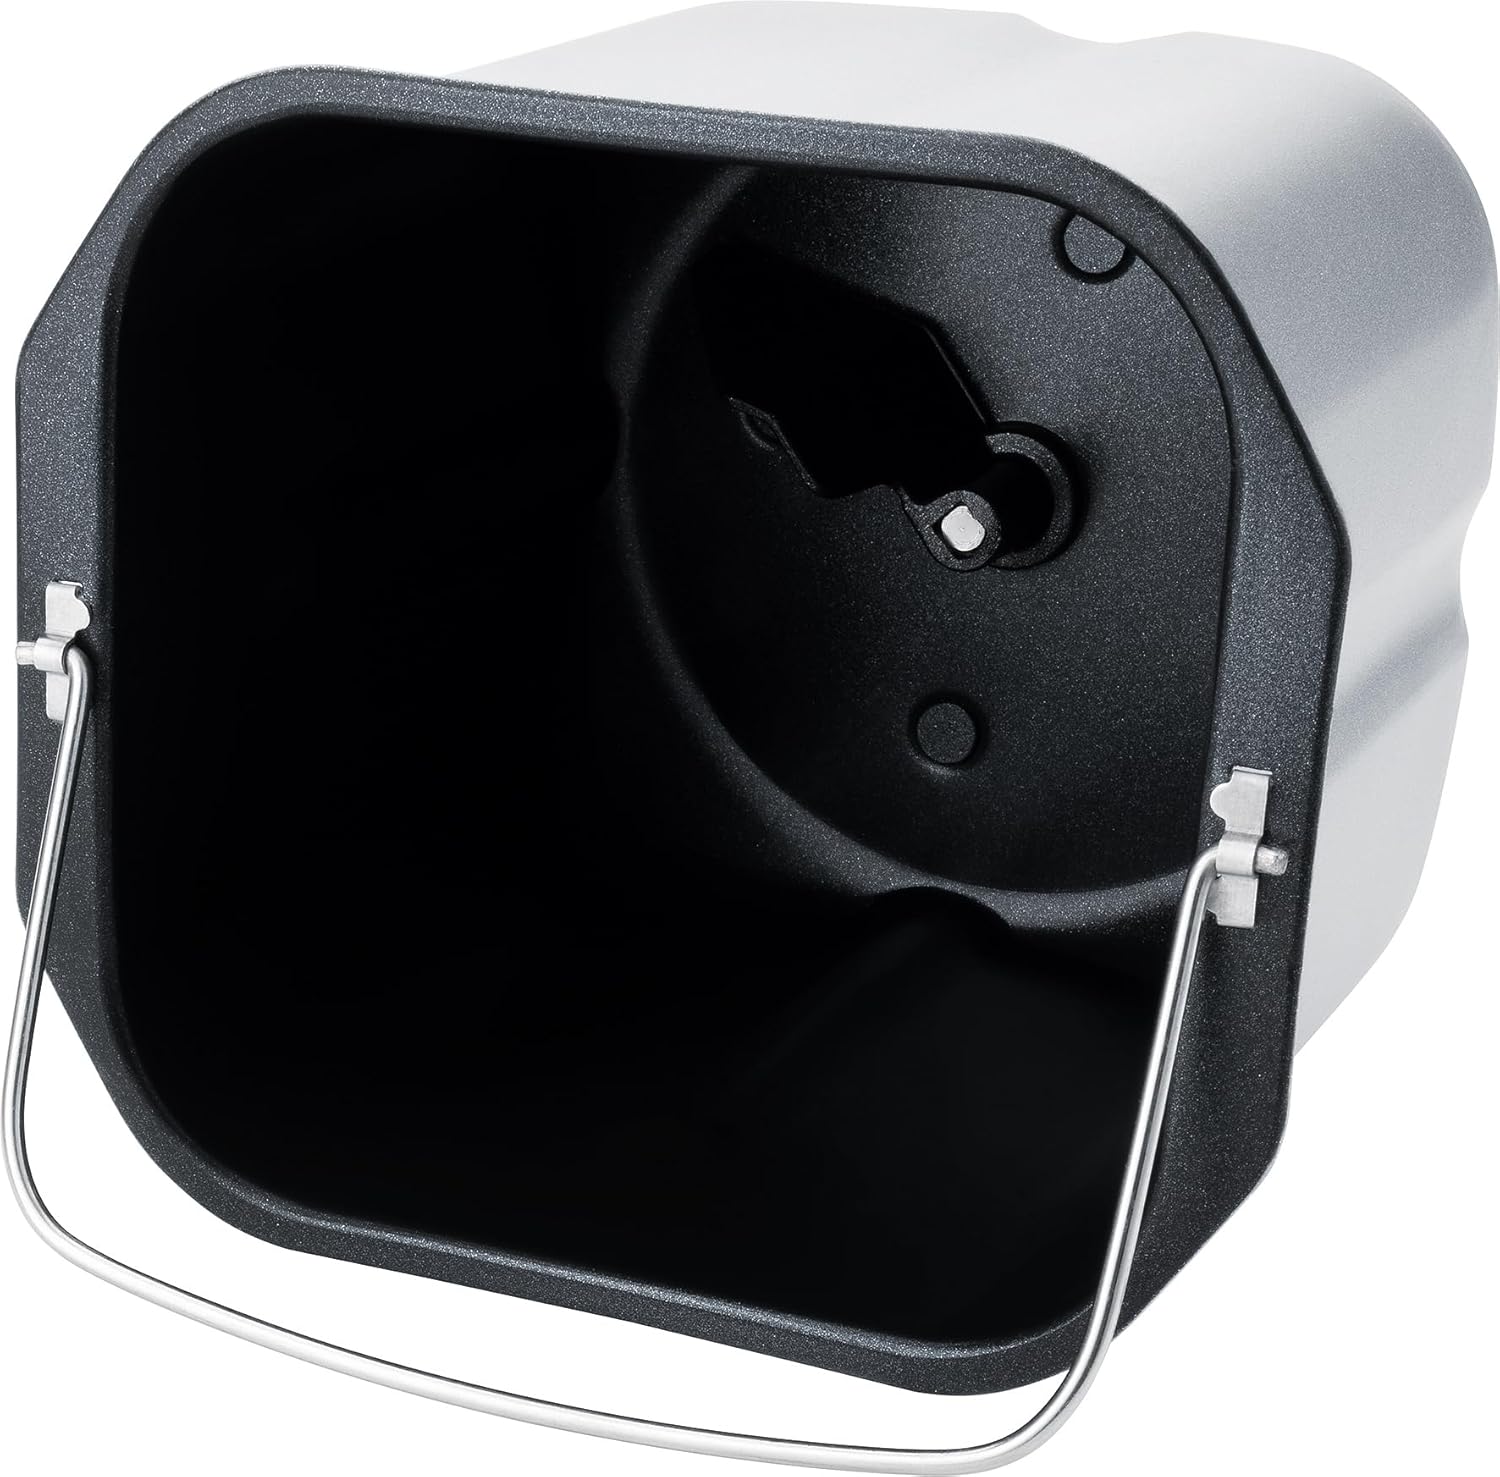
تصویر: تفصیلی view of the non-stick baking pan with the kneading paddle shaft.

Image: Included accessories: a measuring cup, a double-sided measuring spoon, and a hook for removing the kneading paddle.
2.2 کنٹرول پینل اور ڈسپلے
The intuitive Touch-Control panel allows for easy program selection and setting adjustments.

Image: Close-up of the control panel, showing the digital display, program list, and control buttons for weight, time, color, and start/stop.
کلیدی کنٹرولز:
- ڈسپلے: Shows selected program, time, and settings.
- پروگرام کا انتخاب: Choose from 12 automatic programs (Basic, Sweet, French, Whole Wheat, Rapid, Super Rapid, Cake, Rice, Jam, Dough, Pasta, Bake).
- Weight Button: Adjust bread weight (500g or 750g).
- Colour Button: Select crust browning level (Light, Medium, Dark).
- Hour/Minute (Pre-set) Buttons: Set delay timer for up to 13 hours.
- اسٹارٹ/اسٹاپ بٹن: Initiate or cancel a program.
3. سیٹ اپ اور پہلا استعمال
3.1 پیک کھولنا
- پیکیجنگ سے روٹی بنانے والے اور تمام لوازمات کو احتیاط سے ہٹا دیں۔
- آلے سے کوئی بھی حفاظتی فلم یا اسٹیکرز ہٹا دیں۔
- Wash the baking pan, kneading paddle, measuring cup, and spoon in warm, soapy water. Rinse thoroughly and dry completely. The main unit should only be wiped with a damp کپڑا
3.2 ابتدائی استعمال
- Place the bread maker on a clean, dry, and stable surface.
- Insert the baking pan into the main unit and twist it clockwise until it locks into place.
- Attach the kneading paddle onto the shaft inside the baking pan.
- For the first use, it is recommended to run a short 'Bake' cycle (Program 12) without ingredients for about 10 minutes to burn off any manufacturing residues. Ensure good ventilation during this process.
- Allow the appliance to cool down completely before cleaning and proceeding with actual baking.
4. آپریشن
4.1 روٹی بنانے کے بنیادی مراحل
- اجزاء شامل کریں: Follow a recipe and add liquid ingredients first, then dry ingredients, and finally yeast. Ensure yeast does not come into direct contact with liquids or salt.
- پروگرام منتخب کریں: Plug in the bread maker. The default program (usually 'Basic') will appear on the display. Press the 'Program' button repeatedly to cycle through the 12 available programs until your desired program is selected.
- Set Weight: Press the 'Weight' button to choose between 500g or 750g loaf size, if applicable for the selected program.
- Set Crust Colour: Press the 'Colour' button to select Light, Medium, or Dark crust.
- بیکنگ شروع کریں: Press the 'Start/Stop' button. The bread maker will begin the selected program.
- تکمیل: Once the program finishes, the bread maker will beep and automatically switch to a 1-hour 'Keep Warm' function.
- روٹی کو ہٹا دیں: Unplug the appliance. Using oven mitts, carefully remove the baking pan by twisting it counter-clockwise and lifting it out. Invert the pan to release the bread onto a wire rack to cool. If the kneading paddle remains in the bread, use the provided hook to remove it.
4.2 ڈیلے ٹائمر فنکشن
The delay timer allows you to set the bread maker to finish baking at a later time, up to 13 hours. This is ideal for fresh bread in the morning.
- Add all ingredients to the baking pan.
- Select your desired program, weight, and crust colour.
- Press the 'Hour' and 'Minute' buttons to set the desired delay time. The displayed time includes the baking cycle duration.
- Press 'Start/Stop'. The timer will count down, and the bread maker will start automatically when the delay time expires.
نوٹ: دودھ، انڈے، یا تازہ پھل جیسے انتہائی خراب ہونے والے اجزا پر مشتمل ترکیبوں کے ساتھ تاخیر کا ٹائمر استعمال نہ کریں، کیونکہ یہ خراب ہو سکتے ہیں۔

Image: An assortment of various types of freshly baked bread, illustrating the potential output of the bread maker.
5. دیکھ بھال اور صفائی
مناسب صفائی اور دیکھ بھال آپ کے روٹی بنانے والے کی لمبی عمر اور بہترین کارکردگی کو یقینی بناتی ہے۔
5.1 صفائی
- آلے کو ہمیشہ ان پلگ کریں اور صفائی سے پہلے اسے مکمل طور پر ٹھنڈا ہونے دیں۔
- بیکنگ پین اور گوندھنے کا پیڈل: These parts are non-stick and should be washed by hand with warm, soapy water. Avoid abrasive cleaners or scouring pads that could damage the non-stick coating. Rinse thoroughly and dry completely.
- مین یونٹ: روٹی میکر کے بیرونی حصے کو نرم سے صاف کریں، ڈیamp کپڑا سخت کیمیکل استعمال نہ کریں یا یونٹ کو پانی میں نہ ڈبویں۔
- ڈھکن: ڑککن کو اشتہار سے صاف کیا جاسکتا ہے۔amp کپڑا دی viewing window can be cleaned with a mild glass cleaner if necessary.
5.2 اسٹوریج
Store the bread maker in a dry, clean place, away from direct sunlight and out of reach of children.
6 خرابیوں کا سراغ لگانا
اگر آپ کو اپنے روٹی بنانے والے کے ساتھ مسائل کا سامنا کرنا پڑتا ہے، تو درج ذیل عام مسائل اور حل دیکھیں:
| مسئلہ | ممکنہ وجہ | حل |
|---|---|---|
| روٹی نہیں اٹھتی | میعاد ختم ہونے والا خمیر، پانی کا غلط درجہ حرارت، بہت زیادہ نمک/چینی، غلط پروگرام۔ | خمیر کی معیاد چیک کریں، نیم گرم پانی استعمال کریں، اجزاء کے درست تناسب کو یقینی بنائیں، مناسب پروگرام منتخب کریں۔ |
| روٹی بہت گھنی ہے۔ | Too much flour, not enough liquid, yeast issue. | Measure ingredients precisely, ensure proper liquid-to-flour ratio, check yeast activity. |
| روٹی میں پھنسا ہوا پیڈل گوندھنا | معمول کا واقعہ۔ | روٹی کے تھوڑا سا ٹھنڈا ہونے کے بعد پیڈل کو احتیاط سے ہٹانے کے لیے فراہم کردہ ہک کا استعمال کریں۔ |
| آلات شروع نہیں ہو رہا ہے۔ | Not plugged in, program not selected, 'Start/Stop' not pressed. | Ensure power connection, select a program, press 'Start/Stop'. |
7. وضاحتیں
Technical details for the Steba BM 3 Bread Maker:
- ماڈل نمبر: 188300
- برانڈ: سٹیبا
- والیومtage: 230 وولٹ
- واٹtage: 540 واٹ
- صلاحیت: 750 گرام تک
- پروڈکٹ کے طول و عرض (D x W x H): 34D x 27.5W x 24H سینٹی میٹر
- آئٹم کا وزن: 4 کلوگرام
- مواد: پلاسٹک
- پروگراموں کی تعداد: 12
- دیکھ بھال کی ہدایات: صرف ہاتھ دھونا (ہٹنے کے قابل حصوں کے لیے)
- EU Spare Parts Availability: 2 سال

Image: Diagram showing the dimensions of the Steba BM 3 Bread Maker: 34 cm depth, 27.5 cm width, and 24 cm height.
8. وارنٹی اور سپورٹ
وارنٹی کے دعووں، تکنیکی مدد، یا سروس سے متعلق پوچھ گچھ کے لیے، براہ کرم اپنے خوردہ فروش یا مینوفیکچرر سے براہ راست رابطہ کریں۔ وارنٹی کی توثیق کے لیے اپنی خریداری کا ثبوت اپنے پاس رکھیں۔