1. تعارف
This manual provides essential instructions for the proper installation, maintenance, and troubleshooting of your MOOG ES801215 Steering TIE Rod END. This component is designed to connect the steering rack or steering arm to the steering knuckle, allowing the wheels to turn in response to steering input. Proper installation and regular inspection are crucial for vehicle safety and performance.
2. حفاظتی معلومات
WARNING: Automotive repair can be dangerous. Always follow safety precautions to prevent injury or damage.
- حفاظتی شیشے اور دستانے سمیت ہمیشہ مناسب ذاتی حفاظتی سامان (PPE) پہنیں۔
- کسی بھی کام کو شروع کرنے سے پہلے اس بات کو یقینی بنائیں کہ گاڑی کو ایک سطح کی سطح پر جیک اسٹینڈز پر محفوظ طریقے سے سہارا دیا گیا ہے۔ کبھی بھی مکمل طور پر جیک پر بھروسہ نہ کریں۔
- اگر قابل اطلاق ہو تو برقی اجزاء پر کام کرنے سے پہلے گاڑی کی بیٹری کو منقطع کریں۔
- ٹارک کی مخصوص خصوصیات اور طریقہ کار کے لیے اپنی گاڑی کے سروس مینوئل سے رجوع کریں۔
- اگر آپ کو کسی بھی اقدام کے بارے میں یقین نہیں ہے تو، ایک قابل آٹوموٹیو ٹیکنیشن سے مشورہ کریں۔
- After installation, a professional wheel alignment is mandatory to ensure correct steering geometry and tire wear.
3. پیکیج کے مشمولات
تنصیب شروع کرنے سے پہلے تصدیق کریں کہ تمام اجزاء موجود ہیں اور ان کو نقصان نہیں پہنچا ہے۔
- 1x MOOG ES801215 Steering TIE Rod END
- 1x فنل
- Necessary hardware (e.g., castle nut, cotter pin, grease fitting) - Note: Specific hardware may vary; refer to the actual product packaging.
4. تنصیب کی ہدایات
The following steps provide a general guide for replacing a tie rod end. Specific procedures may vary by vehicle make and model. Always consult your vehicle's service manual.
- گاڑی تیار کریں:
Park the vehicle on a level surface, engage the parking brake, and block the rear wheels. Loosen the lug nuts on the wheel where the tie rod end will be replaced. Raise the front of the vehicle using a jack and secure it with jack stands. Remove the wheel.
- Mark Alignment:
Before removal, measure and record the exposed thread length on the old tie rod end. This measurement will help approximate the initial alignment for the new tie rod end. Alternatively, count the number of turns required to remove the old tie rod end from the tie rod shaft.
- پرانے ٹائی راڈ اینڈ کو ہٹا دیں:
Remove the cotter pin and castle nut securing the tie rod end to the steering knuckle. Use a tie rod end puller or a pickle fork to separate the tie rod end from the steering knuckle. Loosen the jam nut on the tie rod shaft, then unthread the old tie rod end from the shaft.
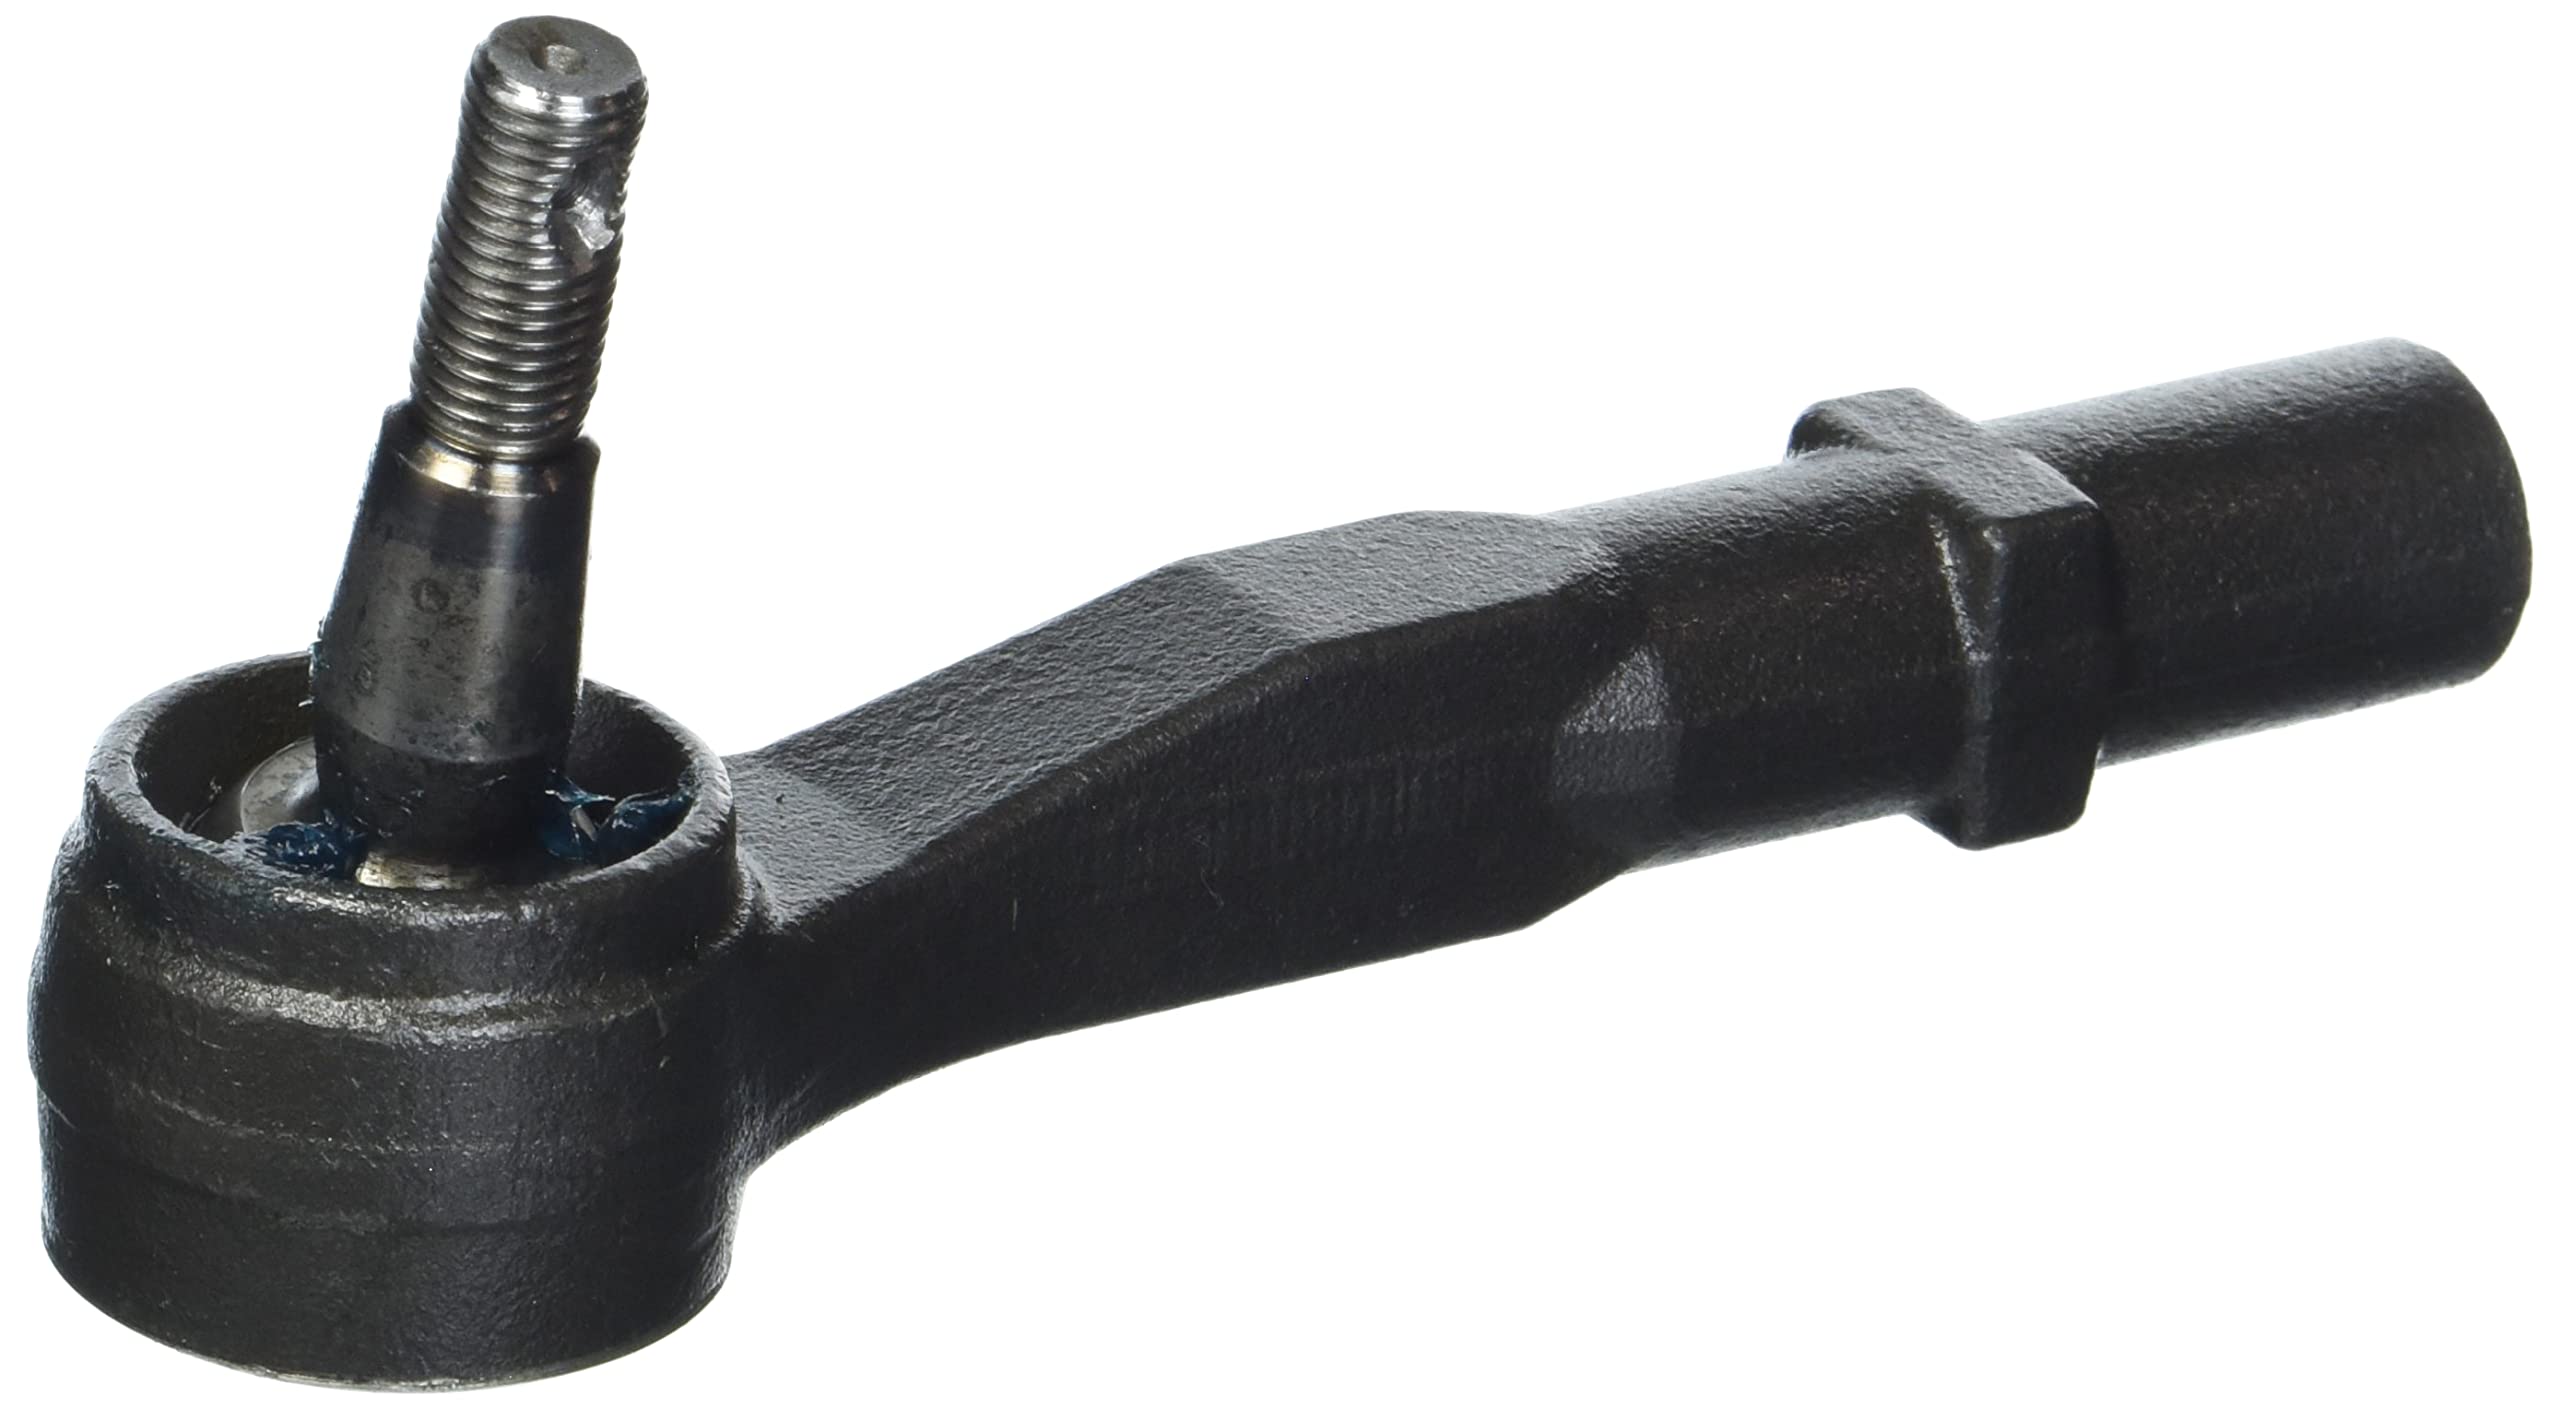
Image 1: MOOG ES801215 Steering TIE Rod END. This image shows the new tie rod end, ready for installation. It features a robust design with a ball joint and threaded shaft for connection to the steering knuckle and tie rod, respectively.
- نیا ٹائی راڈ اینڈ انسٹال کریں:
Thread the new MOOG ES801215 tie rod end onto the tie rod shaft. Adjust it to the previously recorded measurement or number of turns. Ensure the jam nut is still loose. Insert the tapered stud of the new tie rod end into the steering knuckle. Install the castle nut and tighten it to the vehicle manufacturer's specified torque. Insert a new cotter pin through the castle nut and stud, bending the ends to secure it.
- جام نٹ کو سخت کریں:
Once the tie rod end is properly seated and secured, tighten the jam nut against the tie rod end to the manufacturer's specified torque. This prevents the tie rod end from rotating and changing the alignment.
- آخری مراحل:
Reinstall the wheel and tighten the lug nuts. Lower the vehicle to the ground and torque the lug nuts to specification. Immediately schedule a professional wheel alignment.
5. استعمال اور فنکشن
The MOOG ES801215 Steering TIE Rod END is a critical component of your vehicle's steering system. It facilitates the transfer of steering input from the steering rack to the wheels, allowing for precise control and maneuverability. A properly functioning tie rod end ensures stable handling and prevents premature tire wear.
6 دیکھ بھال
Regular inspection and maintenance can extend the life of your tie rod end and ensure safe vehicle operation.
- بصری معائنہ: Periodically inspect the tie rod end for signs of wear, such as torn dust boots, excessive play, or corrosion. A torn boot can allow dirt and moisture to enter the ball joint, leading to premature failure.
- چکنا: If your tie rod end is equipped with a grease fitting (zirc fitting), lubricate it with appropriate chassis grease at recommended service intervals, typically during oil changes or tire rotations. Use the provided funnel if needed for other lubrication tasks on your vehicle.
- پیشہ ورانہ چیک: Have your steering and suspension components inspected by a qualified technician during routine vehicle servicing.
7 خرابیوں کا سراغ لگانا
If you experience any of the following symptoms, your tie rod end may require inspection or replacement:
| علامت | ممکنہ وجہ | ایکشن |
|---|---|---|
| Loose steering / Excessive play | Worn tie rod end ball joint | Inspect tie rod end for play; replace if worn. |
| ناہموار ٹائر پہننا | Misalignment due to worn tie rod end | Inspect and replace worn components; perform wheel alignment. |
| Clunking or popping noises from front suspension | Severely worn or damaged tie rod end | Immediately inspect and replace the tie rod end. |
| سٹیئرنگ وہیل آف سینٹر | Incorrect tie rod end adjustment or wear | Perform wheel alignment after inspection/replacement. |
8. وضاحتیں
| وصف | تفصیل |
|---|---|
| برانڈ | MOOG |
| ماڈل | ES801215 |
| شے کا وزن | 1.1 پاؤنڈ |
| پیکیج کے طول و عرض | 8.31 x 3.5 x 1.93 انچ |
| مینوفیکچرر پارٹ نمبر | ES801215 |
| ASIN | B09PMRN0PX |
| پہلی تاریخ دستیاب ہے۔ | 3 جنوری 2022 |
9. وارنٹی اور سپورٹ
For specific warranty information regarding your MOOG ES801215 Steering TIE Rod END, please refer to the documentation included with your purchase or visit the official MOOG website. For technical support or further assistance, contact MOOG customer service through their official channels.
You can visit the MOOG store for more information: ایمیزون پر MOOG اسٹور