1. تعارف
Welcome to the user manual for your new Avtex W195TS Smart TV. This television is specifically designed for mobile living, offering versatile power options (12V, 24V, and 240V) and a range of smart features, including Wi-Fi, Bluetooth, and an integrated Freesat satellite decoder. This manual provides essential information for setting up, operating, maintaining, and troubleshooting your device to ensure optimal performance and enjoyment.
2. حفاظتی معلومات
براہ کرم ٹیلی ویژن استعمال کرنے سے پہلے تمام حفاظتی ہدایات کو بغور پڑھیں۔ مستقبل کے حوالے کے لیے اس دستی کو رکھیں۔
- بجلی کی فراہمی: درست والیوم کو یقینی بنائیںtage is used (12V, 24V DC or 240V AC). Do not overload power outlets.
- وینٹیلیشن: وینٹیلیشن کے سوراخوں کو مسدود نہ کریں۔ مناسب ہوا کے بہاؤ کے لیے ٹی وی کے ارد گرد مناسب جگہ کی اجازت دیں۔
- پانی اور نمی: ٹی وی کو بارش یا نمی کے سامنے نہ رکھیں۔ ٹی وی پر مائعات سے بھری اشیاء نہ رکھیں۔
- صفائی: صاف کرنے سے پہلے ٹی وی کو ان پلگ کریں۔ نرم، خشک کپڑا استعمال کریں۔ مائع کلینر یا ایروسول کلینر استعمال نہ کریں۔
- جگہ کا تعین: Place the TV on a stable, flat surface or mount securely to a wall/bracket. Avoid direct sunlight or heat sources.
- سروسنگ: اس پروڈکٹ کو خود پیش کرنے کی کوشش نہ کریں۔ تمام سروسز کو اہل سروس اہلکاروں کے حوالے کریں۔
3. پیکیج کے مشمولات
Before setup, please check that all items are present in the box:
- Avtex W195TS سمارٹ ٹی وی
- بیٹریوں کے ساتھ ریموٹ کنٹرول
- 12V/24V DC پاور کیبل
- 240V AC پاور اڈاپٹر
- Table Stand (if applicable)
- صارف دستی (یہ دستاویز)
4. پروڈکٹ ختمview
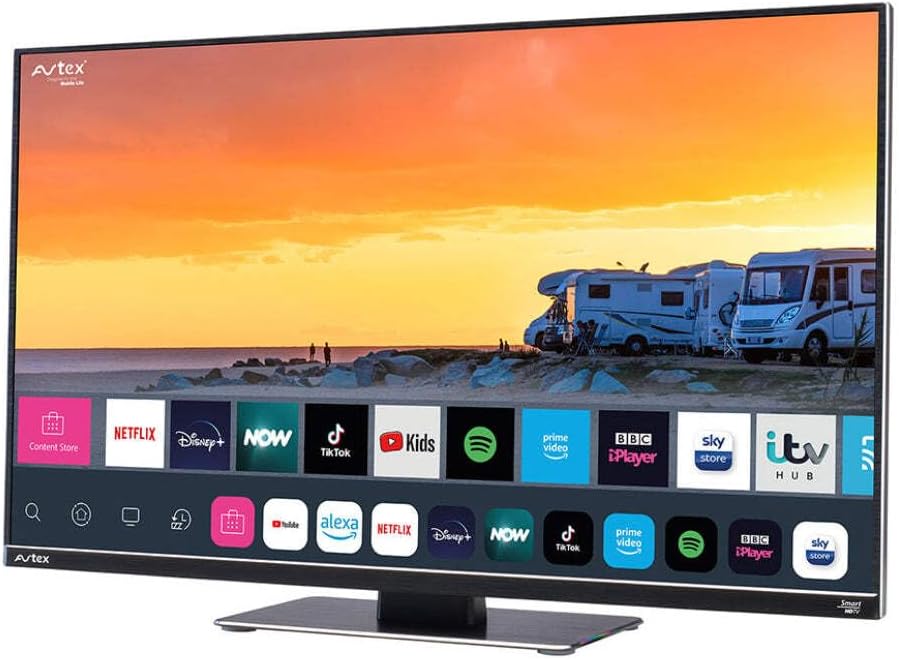
Figure 4.1: Avtex W195TS Smart TV Front View
This image shows the Avtex W195TS Smart TV from a slight angle, highlighting its slim design and the vibrant display. The screen shows a user interface with icons for popular streaming services like Netflix, Disney+, Now, TikTok, Kids, Spotify, Prime Video, BBC iPlayer, Sky Store, and ITV Hub. The background on the screen depicts a scenic view of motorhomes parked near a beach at sunset. The Avtex logo is visible on the top left and bottom left of the TV frame.
4.1 بندرگاہیں اور رابطے
- HDMI پورٹس: For connecting external devices like Blu-ray players, game consoles, or set-top boxes.
- USB پورٹس (2): For media playback from USB drives or connecting USB accessories.
- اینٹینا ان پٹ: For connecting a terrestrial TV antenna.
- سیٹلائٹ ان پٹ: For connecting a satellite dish for Freesat or other satellite services.
- ڈی سی پاور ان پٹ: For 12V/24V DC power connection.
- AC پاور ان پٹ: For 240V AC power connection via adapter.
- ایتھرنیٹ پورٹ: وائرڈ نیٹ ورک کنکشن کے لیے۔
- آڈیو آؤٹ پٹ: For connecting external audio systems or headphones.
5. سیٹ اپ
5.1. Installing the Stand (Optional)
- اسکرین کو پہنچنے والے نقصان کو روکنے کے لیے احتیاط سے ٹی وی کے چہرے کو نرم، صاف سطح پر رکھیں۔
- اسٹینڈ کو ٹی وی کے نچلے حصے میں بڑھتے ہوئے سوراخوں کے ساتھ سیدھ میں رکھیں۔
- فراہم کردہ پیچ کا استعمال کرتے ہوئے اسٹینڈ کو محفوظ کریں۔
5.2. پاور کنکشن
The Avtex W195TS supports multiple power inputs:
- 12V/24V DC: Connect the supplied 12V/24V DC power cable to the DC input on the TV and to your vehicle's 12V or 24V power outlet.
- 240V AC: Connect the supplied 240V AC power adapter to the AC input on the TV, then plug the adapter into a standard 240V AC wall socket.
نوٹ: Do not connect both DC and AC power simultaneously.
5.3. Antenna/Satellite Connection
- Terrestrial TV: Connect your aerial cable to the 'ANTENNA IN' port.
- Satellite TV (Freesat): Connect your satellite dish cable to the 'SATELLITE IN' port.
5.4. ابتدائی پاور آن اور پہلی بار سیٹ اپ
- Connect the TV to power and press the power button on the remote control or TV.
- The First-Time Setup Wizard will appear. Follow the on-screen prompts to select your language, country, and time zone.
- Perform an automatic channel scan for both terrestrial and satellite channels.
- Connect to your Wi-Fi network by selecting your network name and entering the password.
6. آپریٹنگ
6.1. ریموٹ کنٹرول افعال
آسانی سے نیویگیشن اور اپنے ٹی وی کی خصوصیات کو کنٹرول کرنے کے لیے ریموٹ کنٹرول بٹنوں سے خود کو آشنا کریں۔
- پاور بٹن: ٹی وی کو آن/آف کرتا ہے۔
- ماخذ بٹن: Selects input sources (HDMI, USB, TV, Satellite).
- حجم +/-: حجم کی سطح کو ایڈجسٹ کرتا ہے۔
- چینل +/-: ٹی وی چینلز بدلتے ہیں۔
- نیویگیشن بٹن (اوپر/نیچے/بائیں/دائیں/ٹھیک): مینو نیویگیشن اور انتخاب کے لیے۔
- Smart Hub/Home Button: Accesses the Smart TV interface.
- ایپ بٹن: مقبول اسٹریمنگ ایپس کے لیے وقف کردہ بٹن (اگر دستیاب ہو)۔
6.2. سمارٹ ٹی وی کی خصوصیات
Your Avtex W195TS is equipped with smart TV capabilities:
- ایپ اسٹور: Download and install various applications for streaming, news, and entertainment.
- سلسلہ بندی کی خدمات: Access pre-installed or downloaded apps like Netflix, Disney+, Prime Video, BBC iPlayer, etc. (subscription may be required).
- Web براؤزر: اپنے ٹی وی پر براہ راست انٹرنیٹ براؤز کریں۔
- اسکرین مررنگ: Connect your smartphone or tablet to display content on the TV screen (compatibility may vary).
6.3. بلوٹوتھ کنیکٹیویٹی
Pair Bluetooth devices such as headphones or external speakers for enhanced audio experience.
- Go to the TV's settings menu.
- Select 'Bluetooth' or 'Connected Devices'.
- Enable Bluetooth and put your device into pairing mode.
- جوڑا بنانے کے لیے فہرست سے اپنا آلہ منتخب کریں۔
6.4. Media Playback via USB
Insert a USB drive into one of the USB ports to view photos, play videos, or listen to music.
- The TV will usually prompt you to open the media player.
- اپنے ذریعے تشریف لے جائیں۔ files ریموٹ کنٹرول کا استعمال کرتے ہوئے.
7 دیکھ بھال
7.1 ٹی وی کی صفائی
- سکرین: نرم، لنٹ فری کپڑے سے اسکرین کو آہستہ سے صاف کریں۔ ضدی نشانات کے لیے، تھوڑا سا ڈیampur کپڑے میں پانی یا اسکرین کے لیے مخصوص صفائی کے محلول (براہ راست اسکرین پر اسپرے نہ کریں)۔
- Casing: ٹی وی صاف کرنے کے لیے نرم، خشک کپڑا استعمال کریں۔asinجی کھرچنے والے کلینر یا سالوینٹس سے پرہیز کریں۔
7.2. سافٹ ویئر اپڈیٹس
Periodically check for software updates to ensure your TV has the latest features and bug fixes. Updates can usually be found in the TV's settings menu under 'System' or 'Software Update'.
8 خرابیوں کا سراغ لگانا
If you encounter issues with your Avtex W195TS, refer to the following common problems and solutions:
| مسئلہ | ممکنہ وجہ | حل |
|---|---|---|
| کوئی طاقت نہیں۔ | Power cable not connected; no power from outlet. | Check power cable connection; test outlet with another device; ensure correct voltage (12V/24V/240V)۔ |
| کوئی تصویر نہیں، لیکن آواز موجود ہے۔ | غلط ان پٹ ذریعہ منتخب کیا گیا؛ ناقص کیبل. | Press the 'Source' button on the remote to select the correct input; check HDMI/antenna cables. |
| کوئی آواز نہیں، لیکن تصویر موجود ہے۔ | حجم خاموش یا بہت کم؛ بیرونی آڈیو سسٹم کا مسئلہ | Unmute volume or increase level; check connections to external audio devices. |
| Wi-Fi سے کنیکٹ نہیں ہو سکتا | غلط پاس ورڈ؛ روٹر مسئلہ؛ ٹی وی روٹر سے بہت دور ہے۔ | Re-enter Wi-Fi password; restart router; move TV closer to router or use an extender. |
| ریموٹ کنٹرول کام نہیں کر رہا ہے۔ | مردہ بیٹریاں؛ رکاوٹ جوڑی کا مسئلہ | Replace batteries; remove obstructions; re-pair remote if it's a Bluetooth remote. |
9. وضاحتیں
| فیچر | تفصیلات |
|---|---|
| برانڈ | Avtex |
| ماڈل نمبر | AVTEX W195TS |
| اسکرین کا سائز | 19.5 انچ |
| قرارداد | 1080p (مکمل HD) |
| پہلو کا تناسب | 16:9 |
| کنیکٹوٹی ٹیکنالوجی | بلوٹوتھ، HDMI، Wi-Fi |
| کل USB پورٹس | 2 |
| والیومtage | 12 وولٹ، 24 وولٹ، 240 وولٹ |
| شے کا وزن | 2.5 کلوگرام |
| ماڈل سال | 2018 |
10. وارنٹی اور سپورٹ
Your Avtex W195TS Smart TV comes with a manufacturer's warranty. Please refer to the warranty card included in your product packaging for specific terms and conditions, including warranty period and coverage details. Keep your proof of purchase for warranty claims.
For technical support, troubleshooting assistance beyond this manual, or warranty inquiries, please contact Avtex customer service through their official website or the contact information provided with your product. When contacting support, please have your model number (AVTEX W195TS) and serial number ready.