1. تعارف
This manual provides detailed instructions for the installation, operation, and maintenance of your ELUSH 60Amp MPPT Solar Charge Controller. This device is designed to efficiently manage power from your solar panels to charge various battery types, including LiFePO4, AGM, and Gel batteries, in 12V, 24V, and 48V systems.
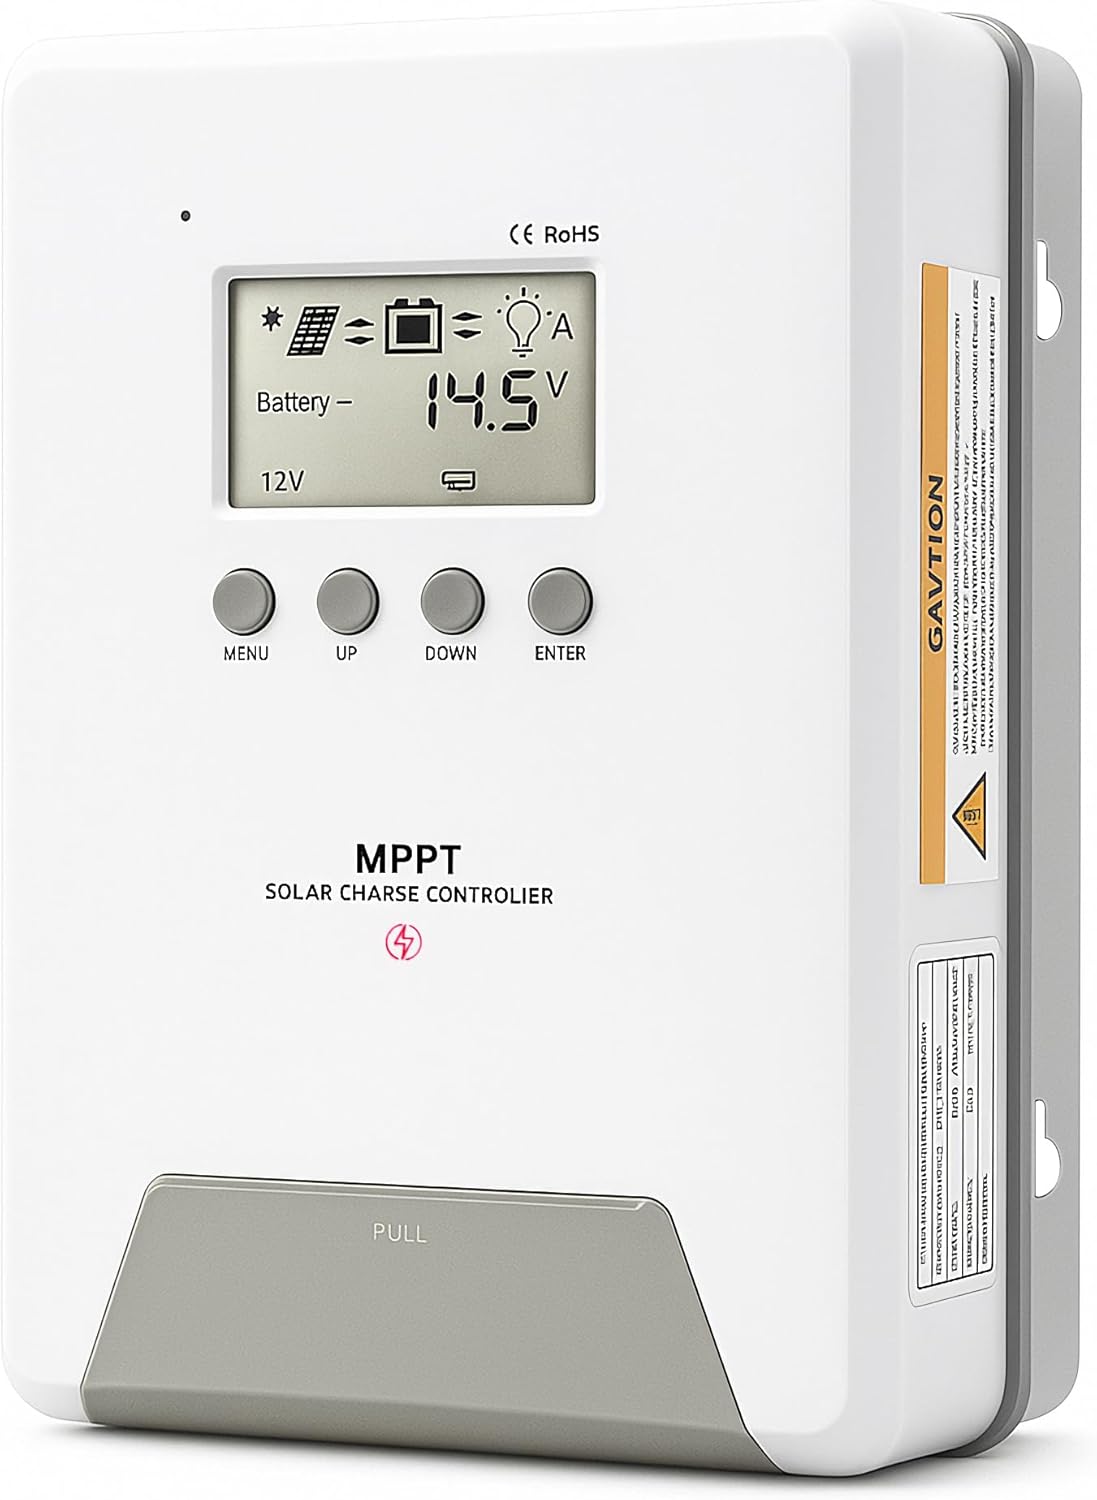
Image 1.1: ELUSH 60Amp MPPT Solar Charge Controller.
2. کلیدی خصوصیات
- اعلی درجے کی MPPT ٹیکنالوجی: Maximizes energy harvest from solar panels with tracking efficiency no less than 99% and peak conversion efficiency up to 98%.
- System Auto-Detection: Automatically detects 12V, 24V, and 48V DC system voltages upon startup.
- وسیع بیٹری مطابقت: Supports Sealed (AGM), Gel, Flooded lead-acid batteries, and Lithium batteries (LiFePO4, Ternary Lithium/Li-ion).
- LCD ڈسپلے صاف کریں: Provides real-time monitoring of PV voltage، بیٹری والیومtage/current, charging power, accumulated energy generation, and load status.
- Essential Built-in Protections: Includes safeguards against overvoltage، overcurrent، undervoltage, and high temperature.
- موثر حرارت کی کھپت: Features a high-quality aluminum heatsink for stable operation and optimal performance.

Image 2.1: MPPT Technology highlighting 99% tracking efficiency and 98% peak conversion efficiency.
3. Safety Information and System Protection
The ELUSH MPPT Solar Charge Controller is equipped with multiple protection features to ensure safe and reliable operation of your solar power system. Always adhere to local electrical codes and safety guidelines during installation and operation.
- Over-discharging Protection: Prevents batteries from being discharged below a safe voltagای سطح
- اوورلوڈ تحفظ: Safeguards against excessive current draw from the load terminals.
- Short-circuiting Protection: Protects against short circuits in the solar panel, battery, or load circuits.
- ریورس پولرائٹی پروٹیکشن: Prevents damage from incorrect battery or solar panel connections.
- اوور چارجنگ پروٹیکشن: Ensures batteries are not overcharged, extending their lifespan.
- درجہ حرارت کا معاوضہ: Adjusts charging parameters based on battery temperature for optimal charging.
- ریورس کرنٹ پروٹیکشن: رات کے وقت کرنٹ کو بیٹری سے سولر پینل میں واپس آنے سے روکتا ہے۔

Image 3.1: Visual representation of the controller's system protection features.
4. انسٹالیشن اور وائرنگ
آپ کے سولر چارج کنٹرولر کے محفوظ اور موثر آپریشن کے لیے مناسب تنصیب بہت ضروری ہے۔ ان اقدامات پر احتیاط سے عمل کریں۔
4.1 Connection Sequence
Always connect components in the following order to prevent damage:
- بیٹری کو جوڑیں: Connect the battery to the controller's battery terminals. Ensure correct polarity (+ to + and - to -). The battery terminals should be installed with safety fuses. Ensure the distance does not exceed 150mm.
- لوڈ کو جوڑیں: Connect your DC loads to the controller's load terminals.
- Connect the solar panel: Connect the solar panel to the controller's solar energy terminals. Ensure correct polarity.
- Power on the controller: The controller will automatically power on once all connections are secure.
نوٹ: If you want to connect an inverter, connect it directly to the battery, not to the load terminal of the controller.

Image 4.1: Diagram showing the connection points for solar energy, battery, and load.

Image 4.2: Step-by-step visual guide for connecting the system components.
4.2 Hidden Installation Wiring
For a clean and secure installation, the wiring can be routed and hidden. After all connections are properly made and tested, tighten the screws on the terminals and close the bottom cover of the controller to complete the installation. This protects the wiring and provides a neat appearance.
5. آپریٹنگ ہدایات
کنٹرولر میں ایک بدیہی LCD ڈسپلے اور مانیٹرنگ اور کنفیگریشن کے لیے بٹن شامل ہیں۔
5.1 LCD ڈسپلے اور بٹن
The LCD screen provides real-time information about your system. The buttons allow you to navigate menus and adjust settings.
- درجہ حرارت سینسر: Located on the controller, it measures ambient temperature for accurate charging compensation.
- LCD ڈسپلے: Shows PV voltage، بیٹری والیومtage, charging current, load status, and other system parameters.
- مینو بٹن: Used to enter and exit menu settings.
- یو پی بٹن: Navigates upwards through menu options or increases values.
- نیچے بٹن: Navigates downwards through menu options or decreases values.
- درج کریں بٹن: انتخاب کی تصدیق کرتا ہے یا ذیلی مینو میں داخل ہوتا ہے۔
Image 5.1: The controller's LCD display and button layout for user interaction.
5.2 خودکار جلدtage Recognition and Battery Compatibility
The controller automatically detects the system voltage (12V, 24V, or 48V) upon startup. It is compatible with a wide range of battery types, ensuring efficient and safe charging for your specific setup.
- Lithium-ion batteries (Li): For standard lithium-ion chemistries.
- Lithium Iron Phosphate batteries (LiFePO4): Specifically designed for LiFePO4 batteries.
- Lead-acid batteries (BAT): Includes Sealed (AGM), Gel, and Flooded types.

Image 5.2: Illustration of automatic voltage شناخت اور بیٹری کی مختلف اقسام کے ساتھ مطابقت۔
6. وضاحتیں
| برانڈ | ELUSH |
| ماڈل نمبر | DM60A |
| موجودہ درجہ بندی | 60A |
| نظام جلد۔tage | 12V/24V/48V Auto Detection |
| زیادہ سے زیادہ PV ان پٹ والیومtage | 150V |
| مواد | ایلومینیم |
| ڈسپلے کی قسم | LCD |
| رنگ | سیاہ |
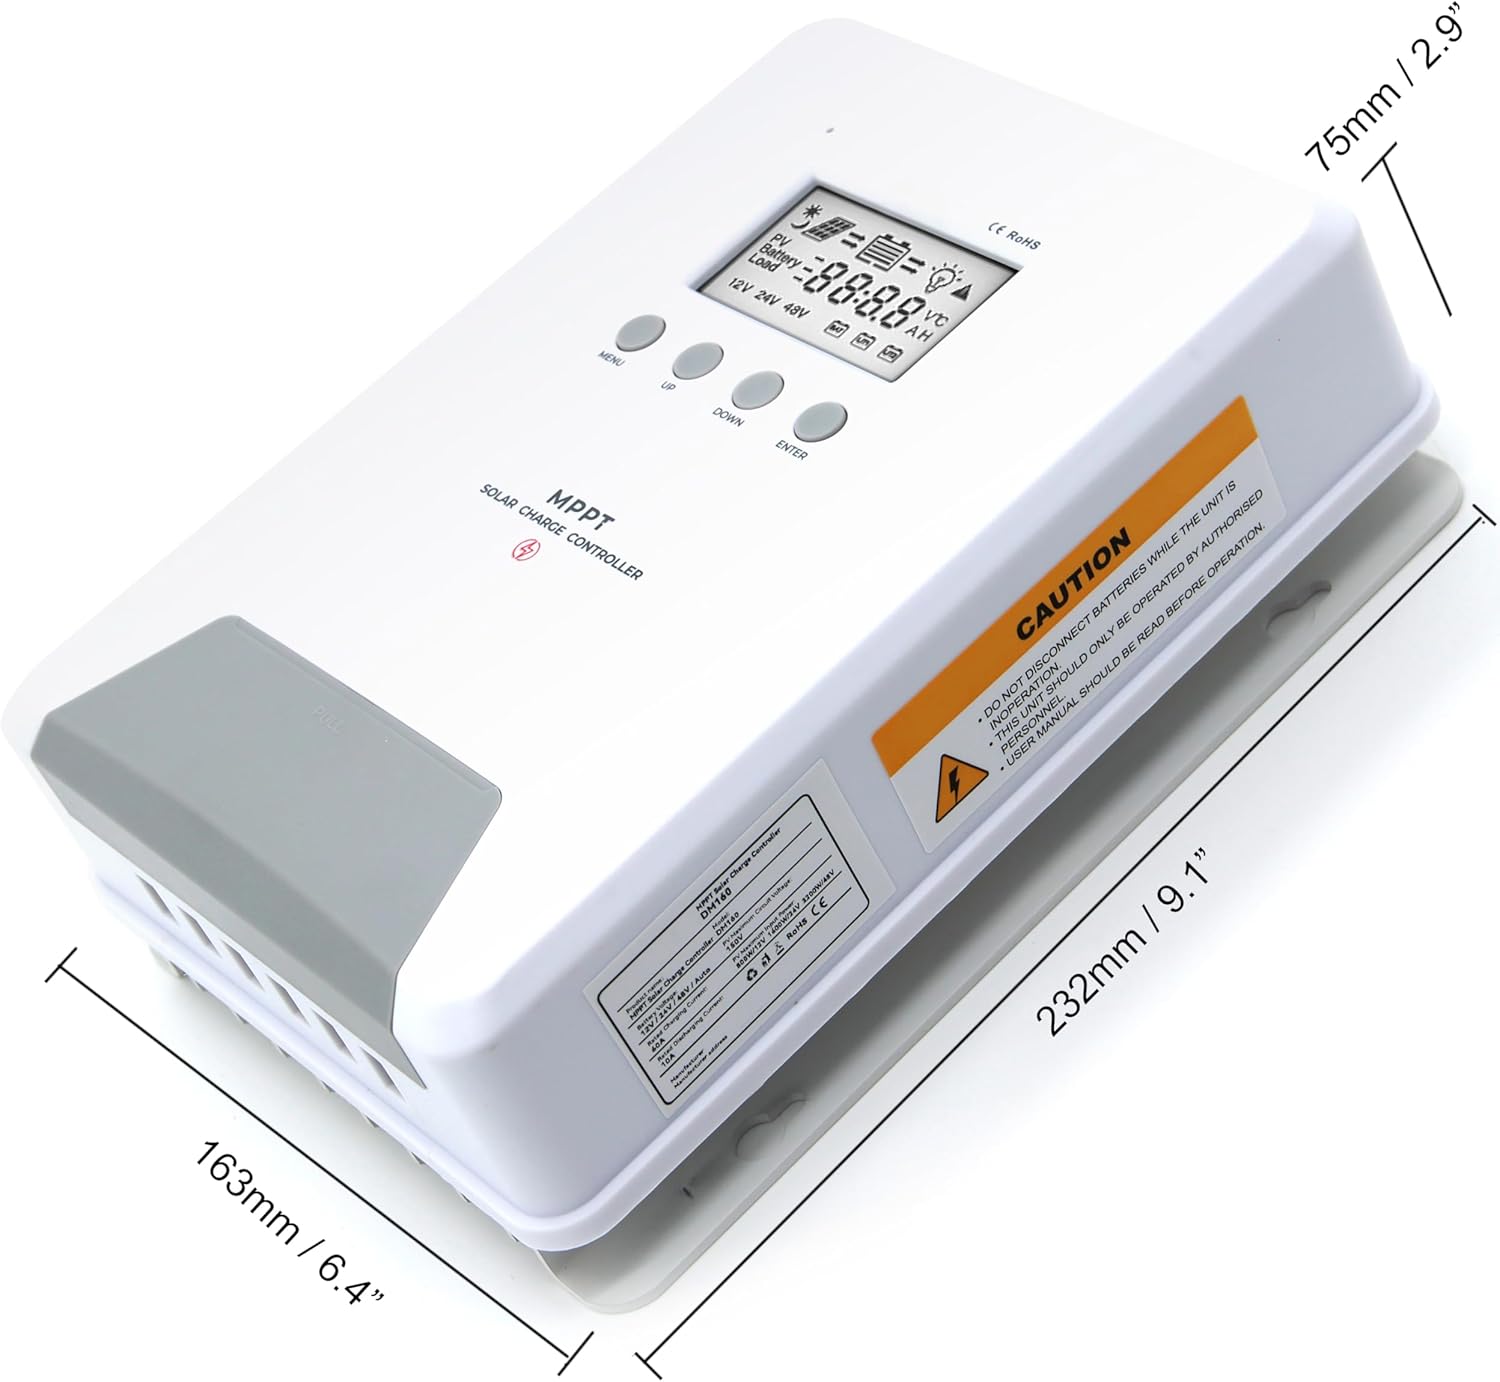
Image 6.1: Physical dimensions of the ELUSH 60Amp MPPT Solar Charge Controller.
7 دیکھ بھال
To ensure optimal performance and longevity of your solar charge controller, regular maintenance is recommended:
- کنکشن کا معائنہ کریں: Periodically check all wiring connections for tightness and corrosion. Loose connections can cause overheating and damage.
- کنٹرولر کو صاف کریں: کنٹرولر کو صاف اور دھول اور ملبے سے پاک رکھیں۔ بیرونی حصے کو صاف کرنے کے لیے خشک کپڑا استعمال کریں۔ اس بات کو یقینی بنائیں کہ وینٹیلیشن کے سوراخوں کو مسدود نہیں کیا گیا ہے۔
- مانیٹر کارکردگی: Regularly check the LCD display for normal operating parameters. Note any unusual readings or error codes.
- بیٹری کی صحت: یقینی بنائیں کہ آپ کی بیٹریاں ان کے مینوفیکچرر کے رہنما خطوط کے مطابق اچھی طرح سے برقرار ہیں۔
8 خرابیوں کا سراغ لگانا
If you encounter issues with your ELUSH MPPT Solar Charge Controller, refer to the following basic troubleshooting steps:
- کوئی ڈسپلے/کوئی پاور نہیں: بیٹری کے کنکشن چیک کریں اور بیٹری والیوم کو یقینی بنائیںtage is within the controller's operating range. Verify fuses are intact.
- بیٹری چارج نہیں ہو رہی: Confirm solar panel connections and polarity. Check for sufficient sunlight and ensure solar panel voltage is above the battery voltage. Verify battery type settings are correct.
- لوڈ کام نہیں کر رہا: Check load connections and ensure the load current does not exceed the controller's rating. Verify load output settings on the controller.
- ایرر کوڈز: If the LCD displays an error code, consult the full product manual (if available) or contact technical support for specific guidance.
- زیادہ گرم ہونا: Ensure the controller is installed in a well-ventilated area, away from direct sunlight or heat sources. Check for any obstructions to the heatsink.
9. وارنٹی اور سپورٹ
ELUSH provides professional technical support for its products. If you have any questions, require assistance with installation, operation, or troubleshooting, please feel free to contact us. Refer to your purchase documentation for specific warranty terms and contact information.