1. تعارف
This manual provides detailed instructions for the installation, operation, maintenance, and troubleshooting of the Hikvision DS-9632NI-I8 32-Channel 4K Network Video Recorder (NVR). Please read this manual thoroughly before using the product to ensure proper and safe operation. Keep this manual for future reference.
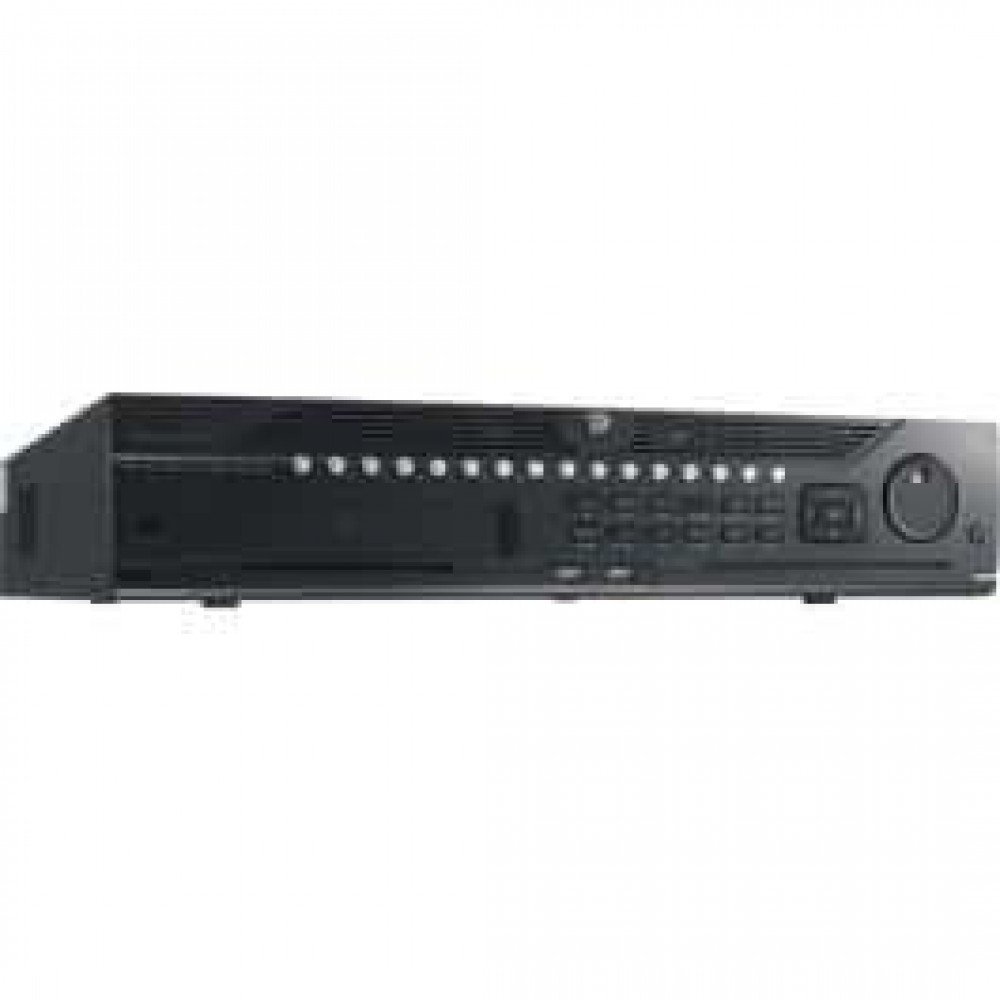
شکل 1: سامنے view of the Hikvision DS-9632NI-I8 NVR, showing its robust chassis and various interface ports.
2. حفاظتی معلومات
Always follow basic safety precautions to reduce the risk of fire, electric shock, and injury to persons. This includes, but is not limited to:
- صرف وہی پاور اڈاپٹر استعمال کریں جو مینوفیکچرر کی طرف سے مخصوص کیا گیا ہے۔
- زیادہ گرمی سے بچنے کے لیے مناسب وینٹیلیشن کو یقینی بنائیں۔
- NVR کو پانی یا نمی سے بے نقاب نہ کریں۔
- Avoid placing the NVR near heat sources or in direct sunlight.
- تمام سروسنگ کو اہل سروس اہلکاروں سے رجوع کریں۔
3. پیکیج کے مشمولات
Verify that all items are present and in good condition. If any item is missing or damaged, contact your dealer immediately.
- Hikvision DS-9632NI-I8 NVR Unit
- پاور اڈاپٹر/کیبل
- USB ماؤس
- Screws for HDD Installation
- کوئیک اسٹارٹ گائیڈ
- CD-ROM (containing software and full manual)
4. سیٹ اپ
4.1 ہارڈ ویئر کی تنصیب
- Prepare Hard Disk Drives (HDDs): The DS-9632NI-I8 supports up to 8 SATA HDDs. Install HDDs into the NVR chassis using the provided screws. Ensure each HDD is securely mounted.
- پیری فیرلز کو جوڑیں:
- مانیٹر کو HDMI یا VGA آؤٹ پٹ پورٹ سے جوڑیں۔
- Connect the included USB mouse to a USB port.
- ایتھرنیٹ کیبل کا استعمال کرتے ہوئے NVR کو اپنے نیٹ ورک سے مربوط کریں۔
- پاور آن: Connect the power adapter to the NVR and then to a power outlet. Press the power button on the front panel.
4.2 ابتدائی کنفیگریشن
Upon first boot, the NVR will guide you through an initial setup wizard.
- ایڈمنسٹریٹر پاس ورڈ سیٹ کریں: Create a strong password for the 'admin' user.
- نیٹ ورک کی ترتیبات: Configure network parameters (DHCP or Static IP). Ensure the NVR is accessible on your local network.
- تاریخ اور وقت: صحیح تاریخ، وقت اور ٹائم زون سیٹ کریں۔
- ایچ ڈی ڈی شروع کرنا: The NVR will prompt you to initialize the installed HDDs. This process will format the drives for recording.
- Add IP Cameras: Use the wizard to search for and add compatible Hikvision IP cameras to the NVR.
5. آپریٹنگ ہدایات
5.1 لائیو View
لاگ ان کرنے کے بعد، NVR لائیو ڈسپلے کرے گا۔ view interface, showing feeds from connected cameras. You can switch between different camera views and layouts.
- سنگل کیمرہ View: Double-click a camera window to view یہ پوری سکرین میں ہے.
- Layout Selection: Use the layout icons at the bottom of the screen to choose different grid arrangements (e.g., 4-channel, 9-channel).
5.2 ریکارڈنگ کا انتظام
NVR مسلسل، شیڈولڈ، اور ایونٹ سے متحرک ریکارڈنگ کو سپورٹ کرتا ہے۔
- Configure Recording Schedule: پر نیویگیٹ کریں۔ Configuration > Storage > Schedule Settings to define recording times for each camera.
- دستی ریکارڈنگ: لائیو پر ریکارڈ آئیکن پر کلک کریں۔ view interface to start/stop manual recording.
5.3 پلے بیک
دوبارہ کرنا۔view ریکارڈ شدہ footage:
- پر جائیں۔ پلے بیک مینو
- مطلوبہ کیمرہ اور تاریخ/وقت کی حد منتخب کریں۔
- ریکارڈنگ کے ذریعے نیویگیٹ کرنے کے لیے ٹائم لائن کا استعمال کریں۔
- پلے بیک کنٹرولز (پلے، توقف، فاسٹ فارورڈ، ریوائنڈ) دستیاب ہیں۔
5.4 ریموٹ رسائی
NVR تک a کے ذریعے دور سے رسائی حاصل کی جا سکتی ہے۔ web browser or Hik-Connect mobile app.
- Web براؤزر: Enter the NVR's IP address into a web براؤزر
- Hik-Connect: Download the Hik-Connect app, register an account, and add your NVR by scanning its QR code or entering its serial number.
6 دیکھ بھال
6.1 فرم ویئر اپڈیٹس
Regularly check for and install firmware updates to ensure optimal performance and security. Firmware can be downloaded from the official Hikvision webسائٹ
- پر نیویگیٹ کریں۔ Configuration > System > Maintenance > Upgrade.
- Follow the on-screen instructions to perform the upgrade. Do not power off the NVR during the update process.
6.2 ہارڈ ڈرائیو مینجمنٹ
Monitor the health of your HDDs and manage storage space.
- HDD حیثیت: Check HDD status in Configuration > Storage > HDD Management.
- اوور رائٹ موڈ: Configure the NVR to overwrite old recordings when storage is full (default behavior).
6.3 صفائی
Keep the NVR clean to prevent dust buildup, which can affect performance and lifespan.
- Power off and unplug the NVR before cleaning.
- بیرونی حصے کو صاف کرنے کے لیے نرم، خشک کپڑا استعمال کریں۔
- Use compressed air to clear dust from ventilation openings.
7 خرابیوں کا سراغ لگانا
| مسئلہ | ممکنہ وجہ | حل |
|---|---|---|
| مانیٹر پر کوئی ویڈیو آؤٹ پٹ نہیں ہے۔ | Loose cable connection, incorrect input source on monitor, NVR not powered on. | Check HDMI/VGA cable connections. Ensure monitor is set to correct input. Verify NVR power. |
| دور سے NVR تک رسائی حاصل نہیں کر سکتے۔ | Network configuration issues, firewall blocking, incorrect port forwarding. | Verify NVR network settings. Check router firewall and port forwarding rules. Ensure Hik-Connect is properly configured. |
| کیمرے ریکارڈنگ نہیں کر رہے ہیں۔ | HDD شروع نہیں کیا گیا، ریکارڈنگ کا شیڈول سیٹ نہیں، HDD مکمل۔ | Initialize HDDs. Configure recording schedule. Check HDD status and capacity. |
| ایڈمنسٹریٹر پاس ورڈ بھول گئے۔ | پاس ورڈ کھو گیا۔ | Refer to the full manual or Hikvision support for password reset procedures. This often involves a security code or a physical reset button. |
8. وضاحتیں
| فیچر | تفصیل |
|---|---|
| ماڈل | DS-9632NI-I8 |
| ویڈیو ان پٹ | 32-Channel IP Video Input |
| ویڈیو آؤٹ پٹ | HDMI (up to 4K), VGA |
| ضابطہ کشائی کی شکل | H.265 + / H.265 / H.264 + / H.264 |
| آڈیو ان پٹ/آؤٹ پٹ | 1-ch, RCA (2.0 Vp-p, 1 kΩ) / 2-ch, RCA (Linear, 1 kΩ) |
| سیٹا | 8 HDDs کے لیے 8 SATA انٹرفیس |
| صلاحیت | Up to 10 TB for each HDD (example, actual capacity may vary) |
| نیٹ ورک انٹرفیس | 2 RJ-45 10M/100M/1000M self-adaptive Ethernet interfaces |
| USB انٹرفیس | فرنٹ پینل: 2 × USB 2.0؛ پیچھے کا پینل: 1 × USB 3.0 |
| طول و عرض (W × D × H) | 23 x 22 x 8 انچ (تقریبا) |
| بجلی کی فراہمی | 100 سے 240 VAC ، 50 سے 60 ہرٹج۔ |
9. وارنٹی اور سپورٹ
9.1 محدود وارنٹی
Hikvision products are covered by a limited warranty. The specific terms and duration of the warranty may vary by region and product type. Please refer to the official Hikvision webتفصیلی وارنٹی معلومات کے لیے سائٹ یا آپ کی خریداری کی دستاویزات۔
- وارنٹی کے دعووں کے لیے اپنی خریداری کا ثبوت رکھیں۔
- Unauthorized repairs or modifications may void the warranty.
9.2 تکنیکی معاونت
For technical assistance, product inquiries, or service requests, please contact Hikvision support through the following channels:
- سرکاری Webسائٹ: وزٹ کریں۔ www.hikvision.com امدادی وسائل، عمومی سوالنامہ، اور رابطہ کی معلومات کے لیے۔
- کسٹمر سروس: Refer to the contact details provided on the Hikvision webآپ کے مخصوص علاقے کے لیے سائٹ۔
- مجاز ڈیلرز: Your authorized Hikvision dealer can also provide support and service.


