1. تعارف
This manual provides comprehensive instructions for the installation, operation, and maintenance of your Momento M8 MAX Dash Camera Kit (MD-8400). The M8 MAX is a 3-channel 4K UHD dash camera system featuring dual 5.0GHz Wi-Fi, GPS, and a Sony IMX image sensor, designed to capture high-quality video footage of your journeys and provide 24/7 vehicle protection.
Please read this manual thoroughly before using the product to ensure proper functionality and to maximize your user experience.

Image 1.1: Momento M8 MAX Dash Camera Kit, showing the main front camera unit, rear camera, and product packaging.
2. کیا شامل ہے۔
تصدیق کریں کہ پیکیج میں تمام اجزاء موجود ہیں:
- M8 Front 4K Dash Camera with Built-in Dual 5.0GHz Wi-Fi + GPS
- FHD Rear Camera with Installation Cable
- ہارڈ وائر انسٹالیشن ہارنس
- ایس ڈی کارڈ اڈاپٹر کے ساتھ 64 جی بی مائیکرو ایس ڈی کارڈ
- پہاڑ
- 2 سالہ وارنٹی کی معلومات
تصویر 2.1: سامنے view of the Momento M8 MAX dash camera, highlighting the lens and compact design.
3. کلیدی خصوصیات
- 4K UHD (2160p) Image Resolution: Records sharp, detailed footage for clear evidence.
- Front and Rear Cameras: Provides comprehensive coverage of your vehicle's surroundings.
- 30 Frames per Second: Ensures smooth video capture.
- Sony IMX Image Sensor: Enhances image quality, especially in low-light conditions.
- 64GB Micro-SD Card Included: Ampریکارڈ شدہ foo کے لیے اسٹوریجtage. Supports up to 256GB.
- ECO Parking Mode Battery Saving Technology: Activates automatically when motion or impact is detected while parked, conserving battery.
- وائس کنٹرول: Allows hands-free operation of certain functions.
- Dual 5.0GHz Wi-Fi Smartphone Connectivity: Enables direct download of footage اور رہتے ہیں۔ viewing via the Momento App.
- بلٹ ان GPS: Records location and speed data with video footage.
4. سیٹ اپ اور انسٹالیشن
4.1 مائیکرو ایس ڈی کارڈ کی تیاری
Before first use, insert the included 64GB MicroSD card into the designated slot on the main dash camera unit. Ensure the card is inserted correctly until it clicks into place. It is recommended to format the MicroSD card periodically through the Momento App or the dash camera's settings to maintain optimal performance.

تصویر 4.1: سائیڈ view of the Momento M8 MAX dash camera, indicating the MicroSD card slot.
4.2 فرنٹ کیمرہ لگانا
- Clean the windshield area where the camera will be mounted. Ensure it is free of dust and grease.
- Attach the mount to the front camera.
- ماؤنٹ پر چپکنے والے پیڈ سے حفاظتی فلم کو چھیل دیں۔
- Firmly press the mount onto the chosen location on your windshield, ideally behind the rearview mirror to avoid obstructing your view. Hold for at least 30 seconds.
- صاف کو یقینی بنانے کے لیے کیمرے کے زاویے کو ایڈجسٹ کریں۔ view آگے سڑک کے.
4.3 پیچھے کیمرہ انسٹال کرنا
- Determine the optimal mounting location for the rear camera, typically on the rear windshield.
- Route the rear camera's installation cable from the front camera to the rear of the vehicle, tucking it neatly along the headliner and pillar trim.
- Connect the rear camera cable to the main front camera unit.
- Mount the rear camera using its adhesive pad, ensuring a clear view پیچھے کی کھڑکی کے ذریعے۔
4.4 Power Connection (Hardwire Installation)
The M8 MAX includes a hardwire installation harness for continuous power and parking mode functionality. Professional installation is recommended for hardwiring.
- Connect the ACC (Accessory) wire of the harness to a fuse that is active only when the ignition is on.
- Connect the BATT (Battery) wire to a constant power fuse (always active).
- Connect the GND (Ground) wire to a metal part of the vehicle chassis.
- Plug the hardwire harness into the main dash camera unit.
4.5 Momento App Connection
- Download the "Momento" app from your smartphone's app store (iOS or Android).
- Turn on your vehicle's ignition to power the dash camera.
- On your smartphone, go to Wi-Fi settings and connect to the dash camera's Wi-Fi network (SSID and password can be found on the camera or in the quick start guide).
- Open the Momento App. The app should automatically detect and connect to the dash camera.

Image 4.2: Momento App interface on a smartphone, displaying live view اور مینو کے اختیارات۔
5. آپریٹنگ ہدایات
5.1 خودکار ریکارڈنگ
Once powered on, the Momento M8 MAX will automatically begin continuous loop recording. Older files will be overwritten when the MicroSD card is full, unless they are protected (event recordings).
5.2 Event Recording (G-Sensor)
The built-in G-sensor detects sudden impacts or rapid acceleration/deceleration. When an event is detected, the current video segment will be automatically locked and saved to prevent overwriting.
5.3 Parking Mode (ECO Battery Saving Technology)
With the hardwire kit installed, the dash camera will automatically switch to parking mode when the vehicle's ignition is turned off. In ECO Parking Mode, the camera consumes minimal power and activates recording only when motion or impact is detected, providing 24/7 surveillance.
5.4 وائس کنٹرول
The M8 MAX supports voice commands for certain operations. Refer to the quick start guide or Momento App for a list of available voice commands.
5.5 Using the Momento App
The Momento App provides full control and access to your dash camera:
- جیو View: Stream real-time video from the front and rear cameras to your smartphone.
- گیلری: Browse, play back, and download recorded video footage براہ راست آپ کے فون پر۔
- ترتیبات: Adjust camera settings such as video resolution, G-sensor sensitivity, parking mode options, and Wi-Fi settings.
- فرم ویئر اپ ڈیٹس: The app can notify you of and facilitate firmware updates for your dash camera.

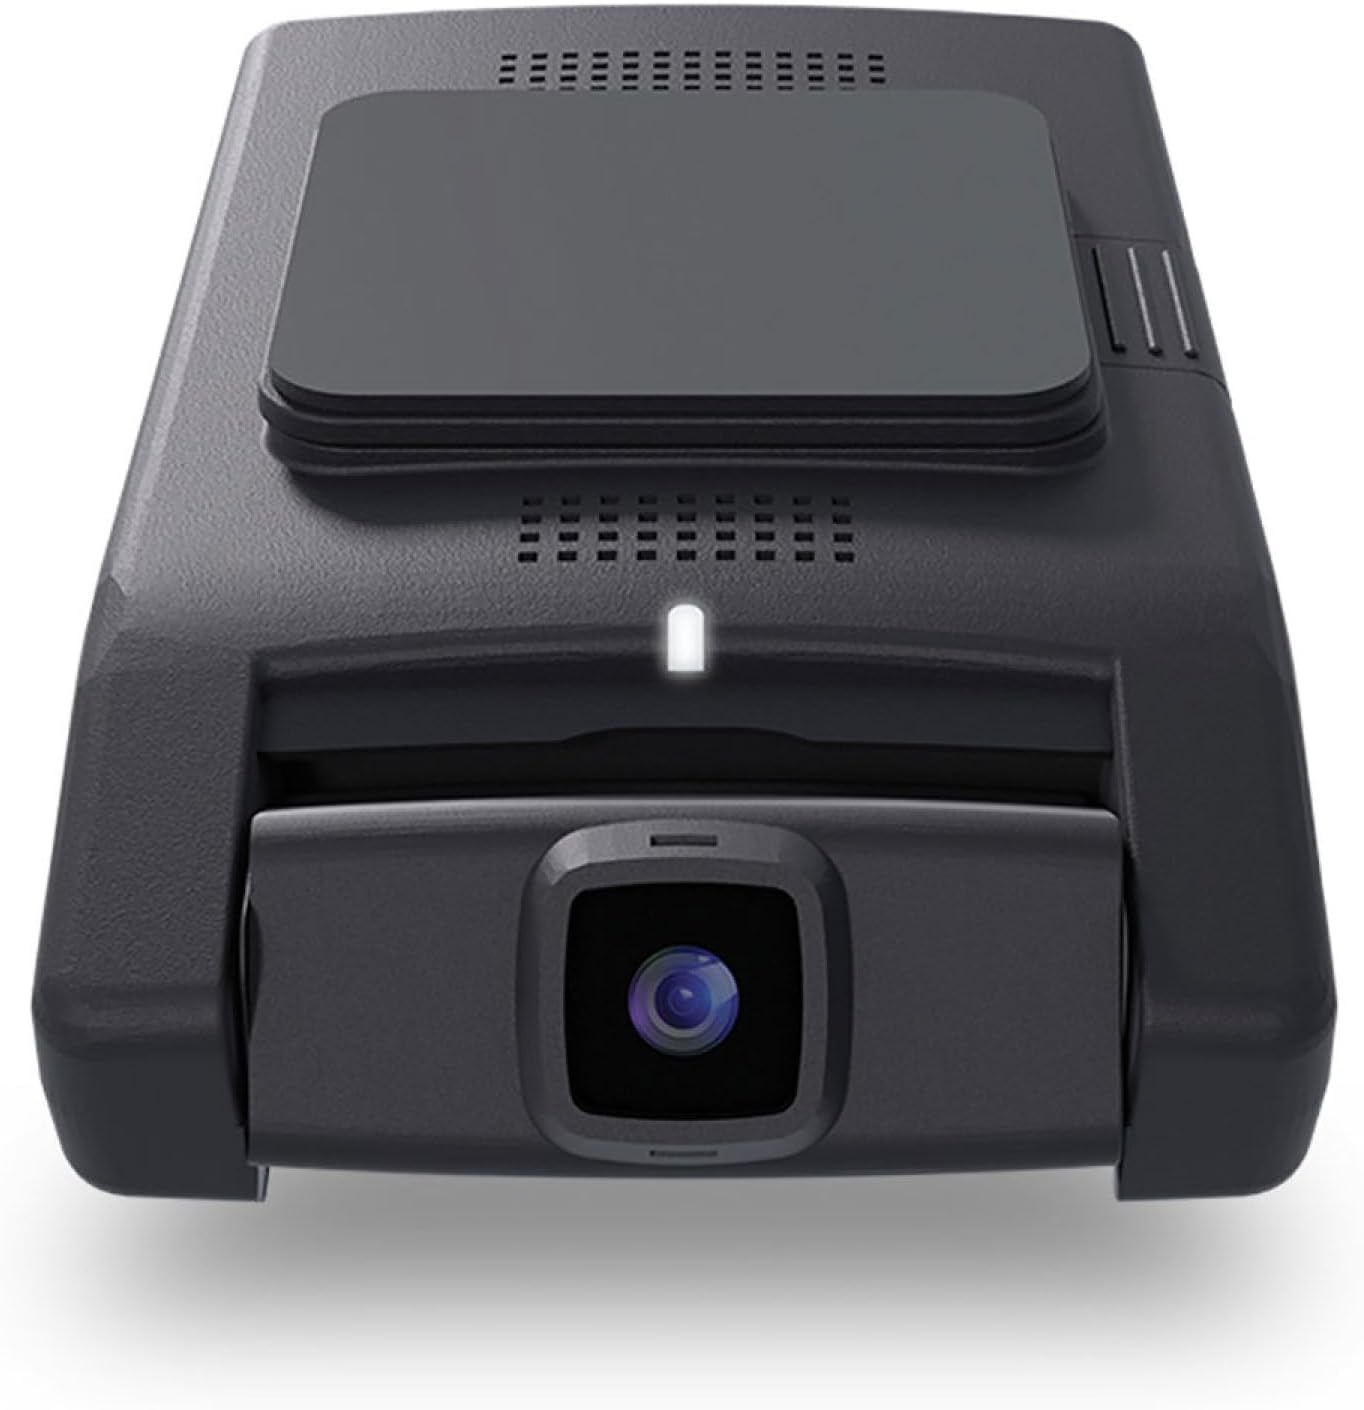
تصویر 5.1: اوپر view of the Momento M8 MAX dash camera, showing the Wi-Fi and manual recording buttons.
6 دیکھ بھال
6.1 مائیکرو ایس ڈی کارڈ مینجمنٹ
Regularly format the MicroSD card (at least once a month) to prevent data corruption and ensure optimal recording performance. This can be done through the Momento App. Replace the MicroSD card if you experience frequent recording errors or data loss.

Image 6.1: The included Momento 64GB MicroSD card.
6.2 لینز کی صفائی
Use a soft, lint-free cloth to gently wipe the camera lenses. Avoid using abrasive cleaners or solvents that could damage the lens coating.
6.3 فرم ویئر اپڈیٹس
Check the Momento App periodically for available firmware updates. Keeping your dash camera's firmware up-to-date ensures access to the latest features and performance improvements.
7 خرابیوں کا سراغ لگانا
| مسئلہ | ممکنہ وجہ | حل |
|---|---|---|
| کیمرا آن نہیں ہو رہا ہے۔ | Loose power connection, vehicle power issue. | Check all power cable connections. Ensure vehicle's ignition is on if not hardwired to constant power. Verify fuse connections if hardwired. |
| ریکارڈنگ رک جاتی ہے یا جم جاتی ہے۔ | MicroSD card error, full card, or incompatible card. | Format the MicroSD card via the app. If issues persist, try a new, high-quality MicroSD card (Class 10 or higher, U3 recommended). |
| وائی فائی کنکشن کے مسائل۔ | Incorrect password, too far from camera, app issue. | Ensure you are within close proximity to the camera. Re-enter Wi-Fi password. Restart the camera and the app. |
| ناقص ویڈیو کا معیار۔ | Dirty lens, low light, incorrect resolution setting. | Clean the camera lens. Ensure sufficient lighting. Check video resolution settings in the Momento App (4K for front, 1080p for rear). |
| کوئی GPS سگنل نہیں ہے۔ | روکا ہوا view of sky, camera not properly positioned. | یقینی بنائیں کہ کیمرہ صاف ہے۔ view of the sky. Avoid mounting near metallic tints or other signal-blocking materials. |
For further assistance, please refer to the Momento App's help section or contact customer support.
8. وضاحتیں
| فیچر | تفصیل |
|---|---|
| ماڈل کا نام | Momento M8 MAX MD-8400 |
| فرنٹ کیمرہ ریزولوشن | 4K UHD (2160p) @ 30fps |
| پیچھے کیمرے کی قرارداد | FHD (1080p) @ 30fps |
| تصویری سینسر | Sony IMX Sensor |
| Viewآئی اینگل | Up to 270° (Front + Rear) |
| وائی فائی کنیکٹیویٹی | Dual 5.0GHz Wi-Fi |
| جی پی ایس | بلٹ ان |
| پارکنگ موڈ | ECO Battery Saving Technology (Motion/Impact Detection) |
| وائس کنٹرول | جی ہاں |
| Included MicroSD Card | 64GB (Supports up to 256GB) |
| پاور کنکشن | ہارڈ وائر انسٹالیشن ہارنس |
| طول و عرض | 5 x 5 x 3 انچ |
| شے کا وزن | 1.2 پاؤنڈ |
9. وارنٹی اور سپورٹ
9.1 وارنٹی کی معلومات
The Momento M8 MAX Dash Camera Kit (MD-8400) comes with an industry-leading 2 سال کی وارنٹی from the date of purchase. This warranty covers manufacturing defects and ensures the product performs as specified under normal use. Please retain your proof of purchase for warranty claims.
9.2 کسٹمر سپورٹ
For technical support, troubleshooting assistance, or warranty inquiries, please contact Idatalink customer service. You can also find helpful resources and FAQs within the Momento App.
مینوفیکچرر: لمحہ
برانڈ: Idatalink
For the most up-to-date support contact information, please visit the official Idatalink or Momento webسائٹ


